Description
- Scout32 and ScoutXL: Scout32-V2.2
- Updated Arduino Code: Scout-Arduino-V2.3
- Updated Manual: Manual 3/6/23
Notes, Fixes, and things I forgot to include in this release.
- I forgot to include the decorative cab plating in the ScoutXL files. Please use the ones from the standard Scout32, scaled to double size.
- The extra capacitors are for power filtering, and are not strictly necessary. Adding a large electrolytic capacitor on the ESP32 power pins will help reduce interference and increase reliability.
- Nothing should require supports.
- This battery, and anything else labeled WLTOYS 1500mah should work.
**Version 2.3 – MX1508 / Motor Driver Fix**
- Minor Update to add ESP32-WROVER support
- Uses better driver logic to reduce PWM channels used from 4 to 2, freeing up channels for servos / accessories.
- Code readability improvements (Using named directional labels instead of PWM channel numbers in code)
**Version 2.2**
– Updated WiFi AP to use 20mhz channel vs 40mhz for less interference
– Updated failsafes to be more responsive
**Version 2.0**
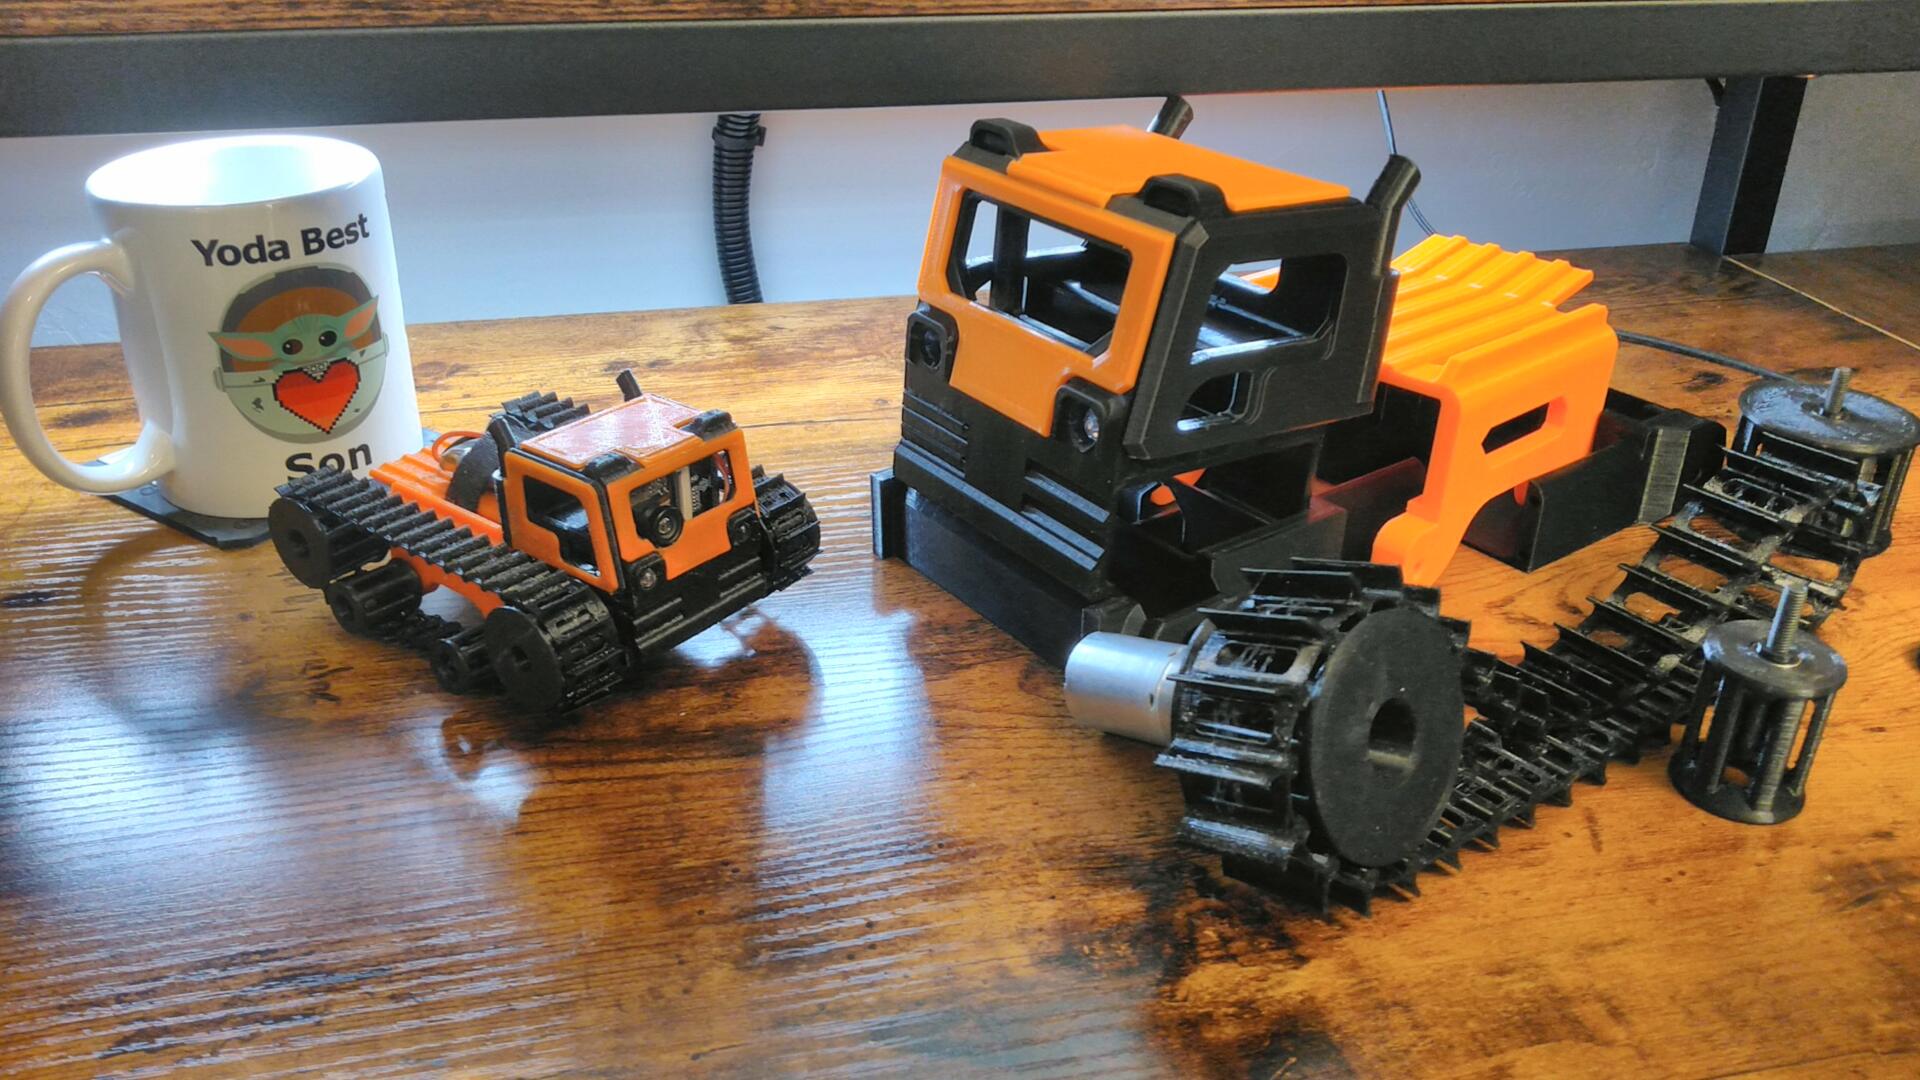
– Added 2x sized ScoutXL
– Updated documentation with alternative simplified wiring.
– Added MX1508 motor driver support.
– Added in-app camera rotation.
– Added proper failsafe! Now checks every 4 seconds for active connection to controls, and halts if it doesn’t receive a valid signal.
– Fixed N20 motor axle clearance
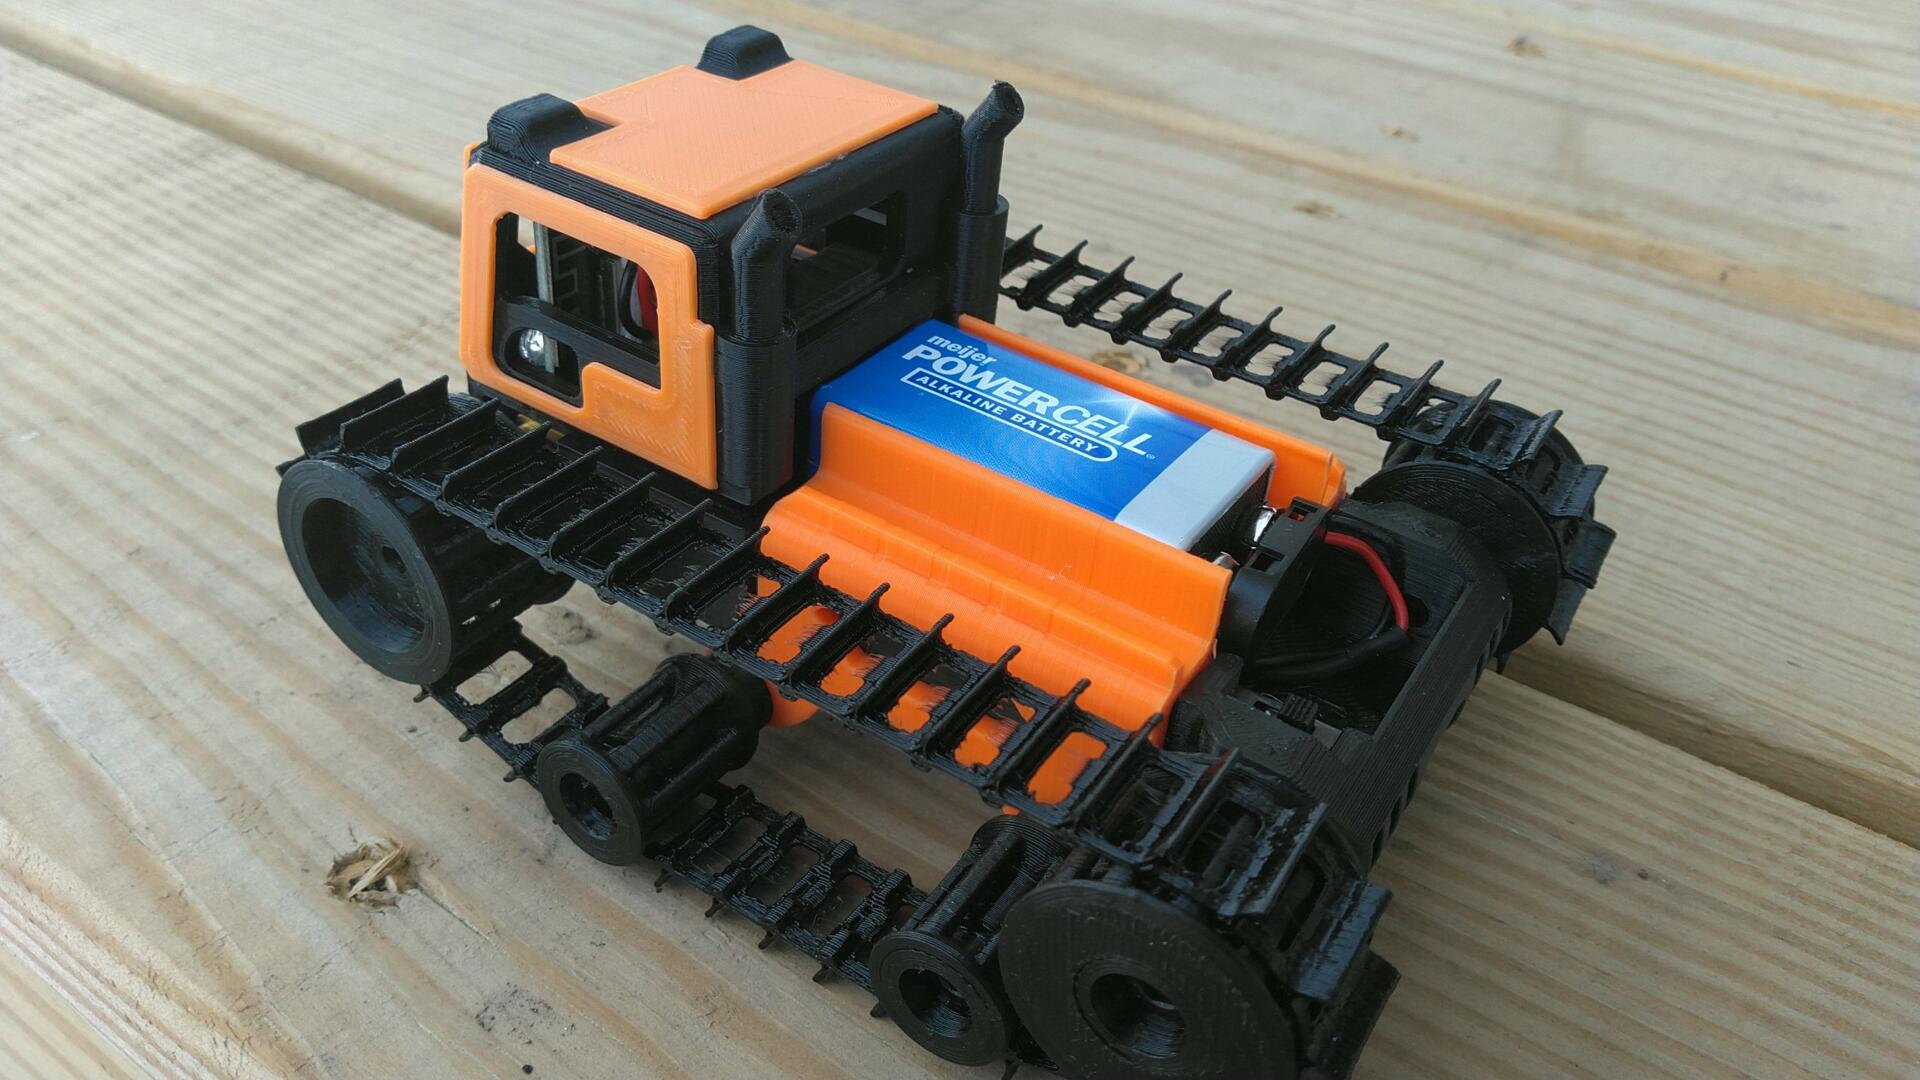
– Added alternate bed to hold 9v battery
**Version 1.7**
-Dependencies for Libraries have been updated. Please use ESP32 Boards Version 1.0.6+
– STEP files included
– Tweaked for easier assembly and minimal supports for printing.
– Added alternate chassis for N20 Gearmotors with wider washers.
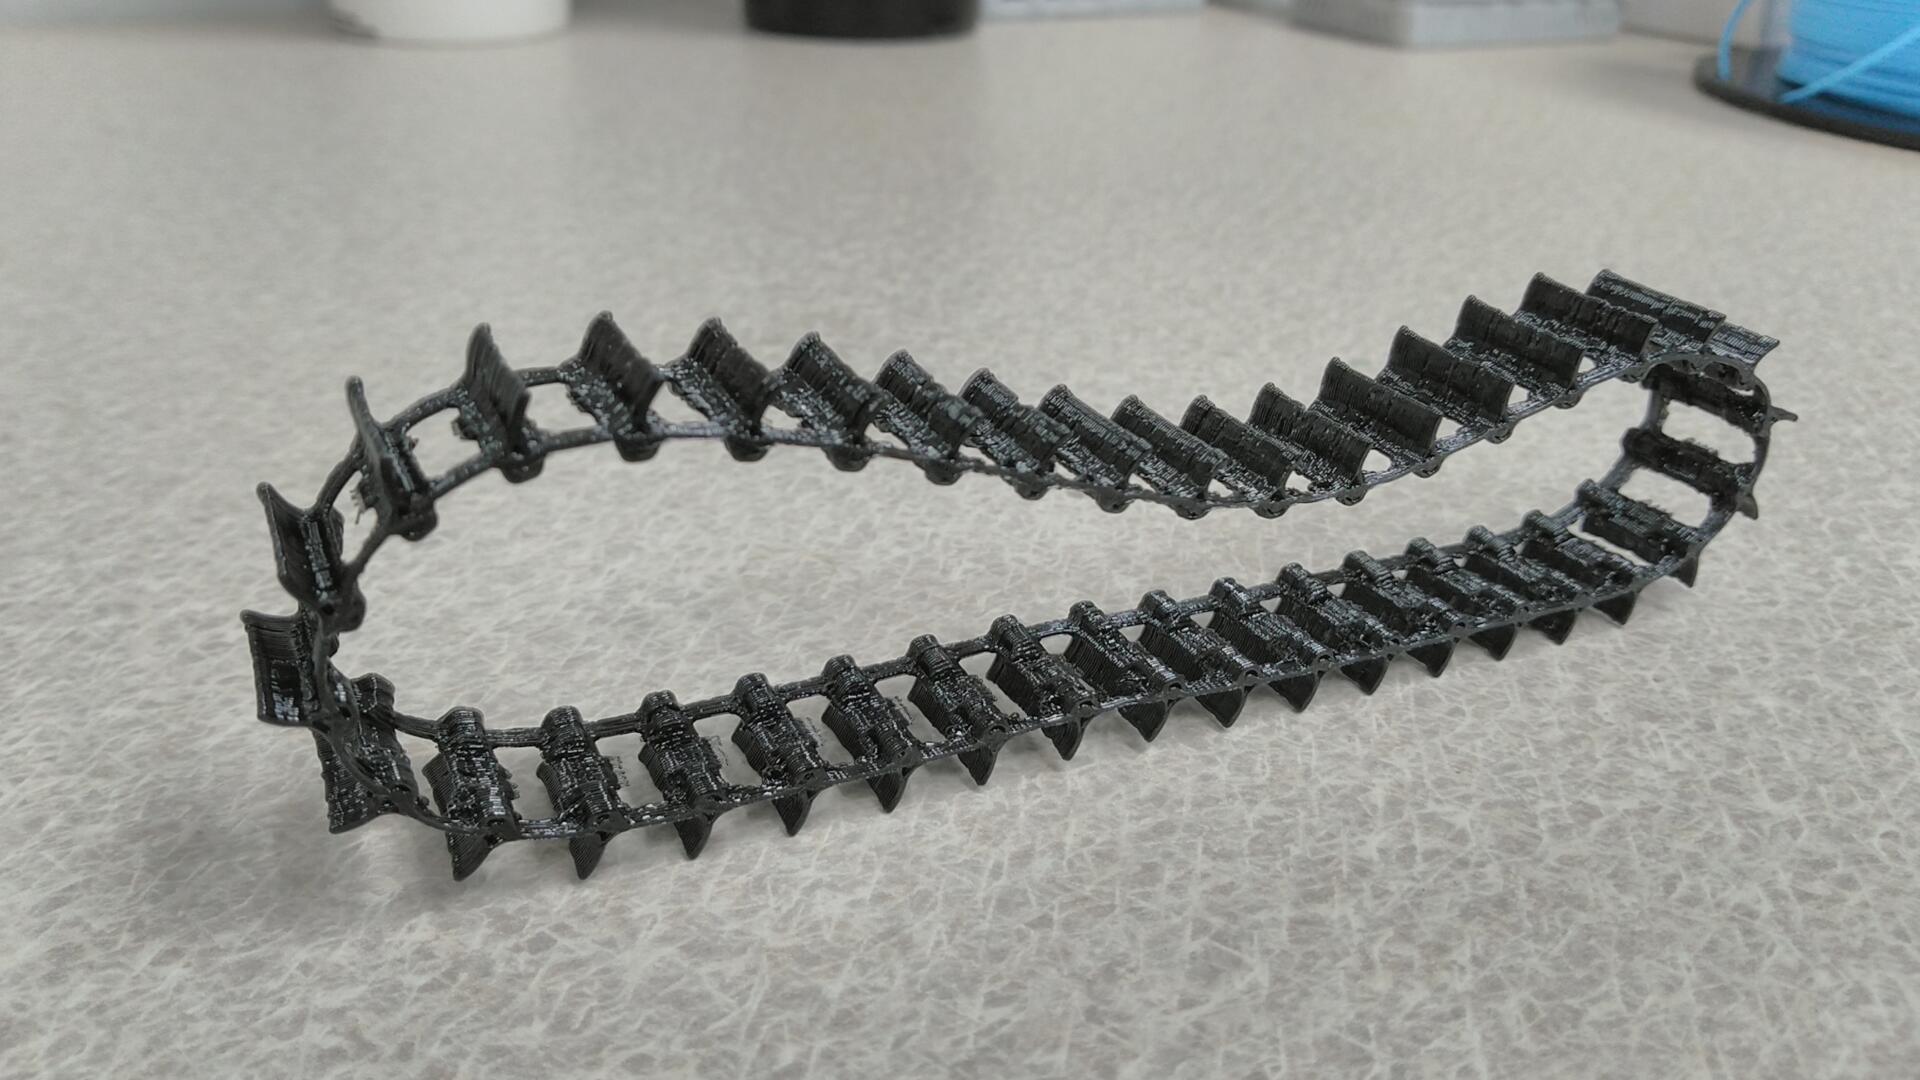
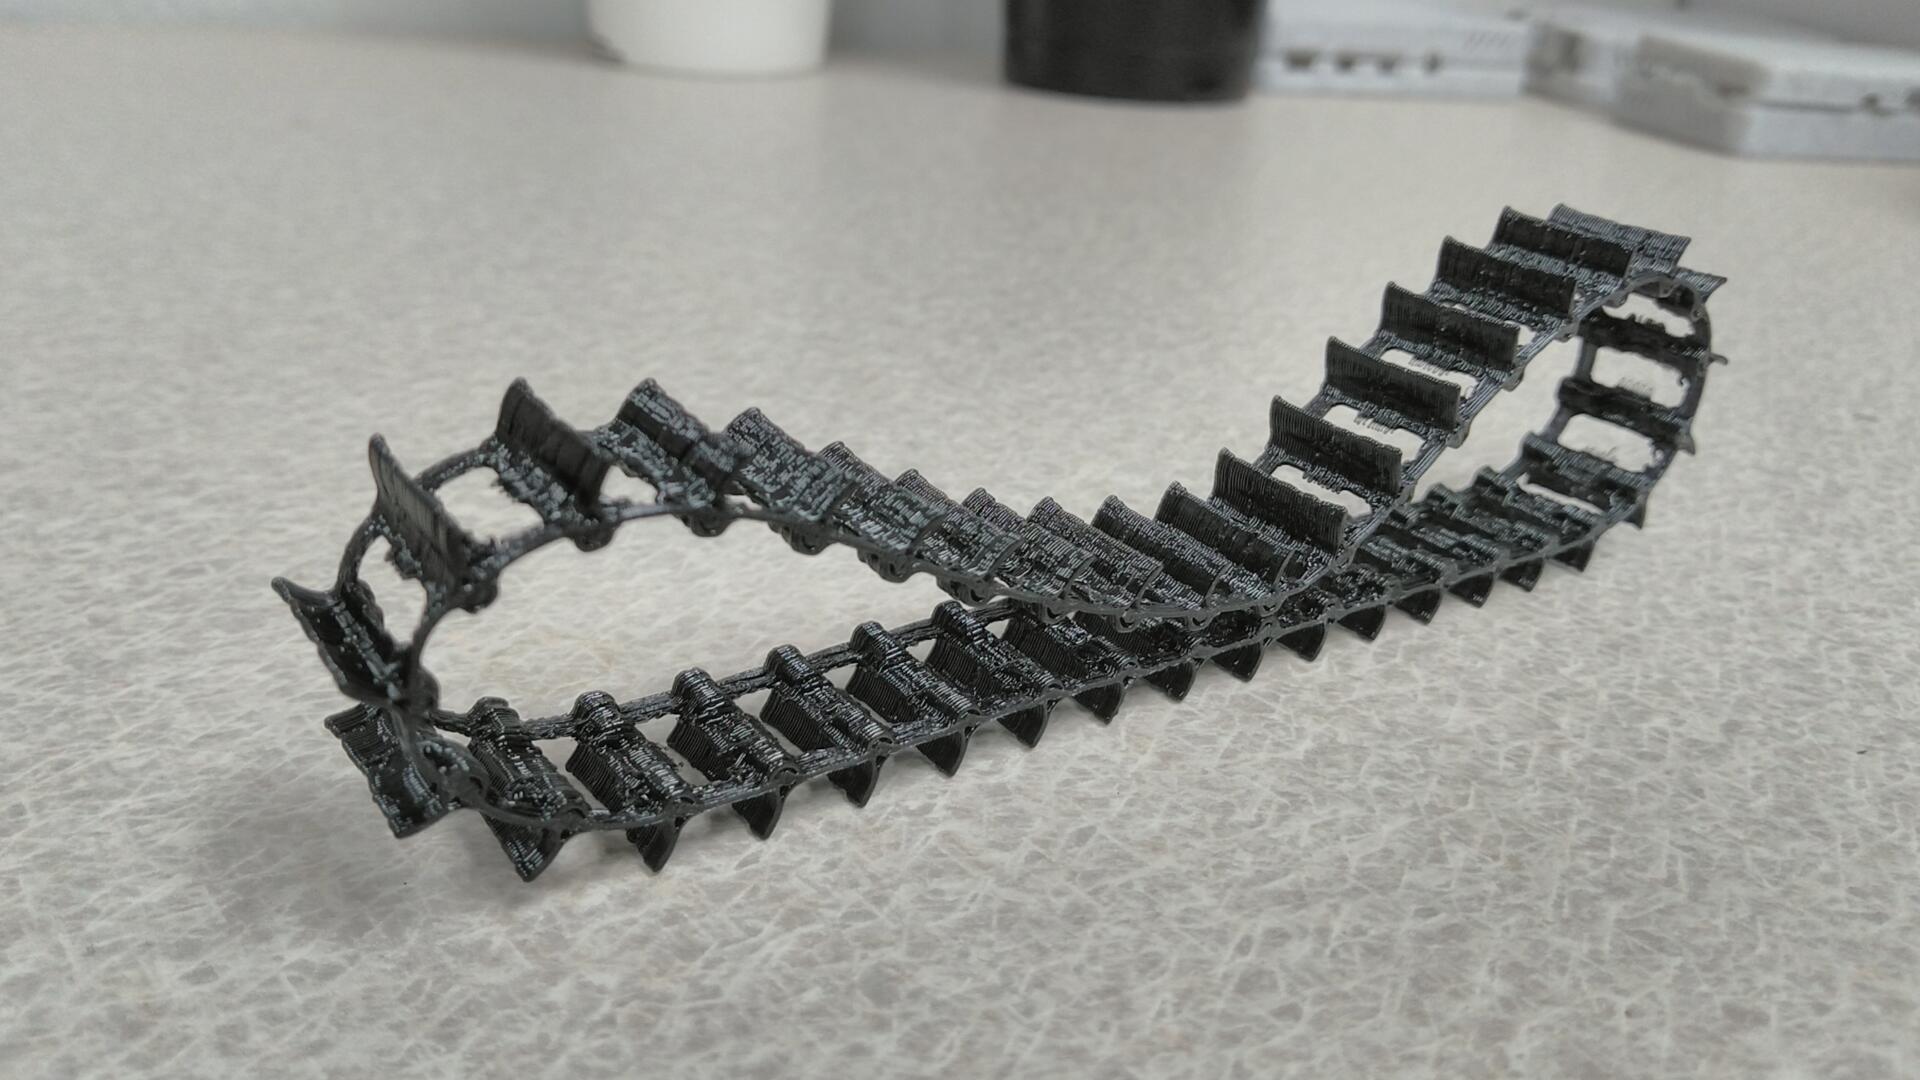
– Modified tracks to better handle snow and debris.
N20 MX1508 vs Servo Build
Honestly, with how well the N20 version performs, I now prefer that method with MX1508 drivers, as you don’t have to screw around with endpoints, centering, drift, etc, IT JUST WORKS. On my personal build, I tape the MX1508 to the back of the ESP32, allowing all electronics to fit inside the cab.
Paid downloads greatly are appreciated. The Scout32 is also available on Thingiverse.
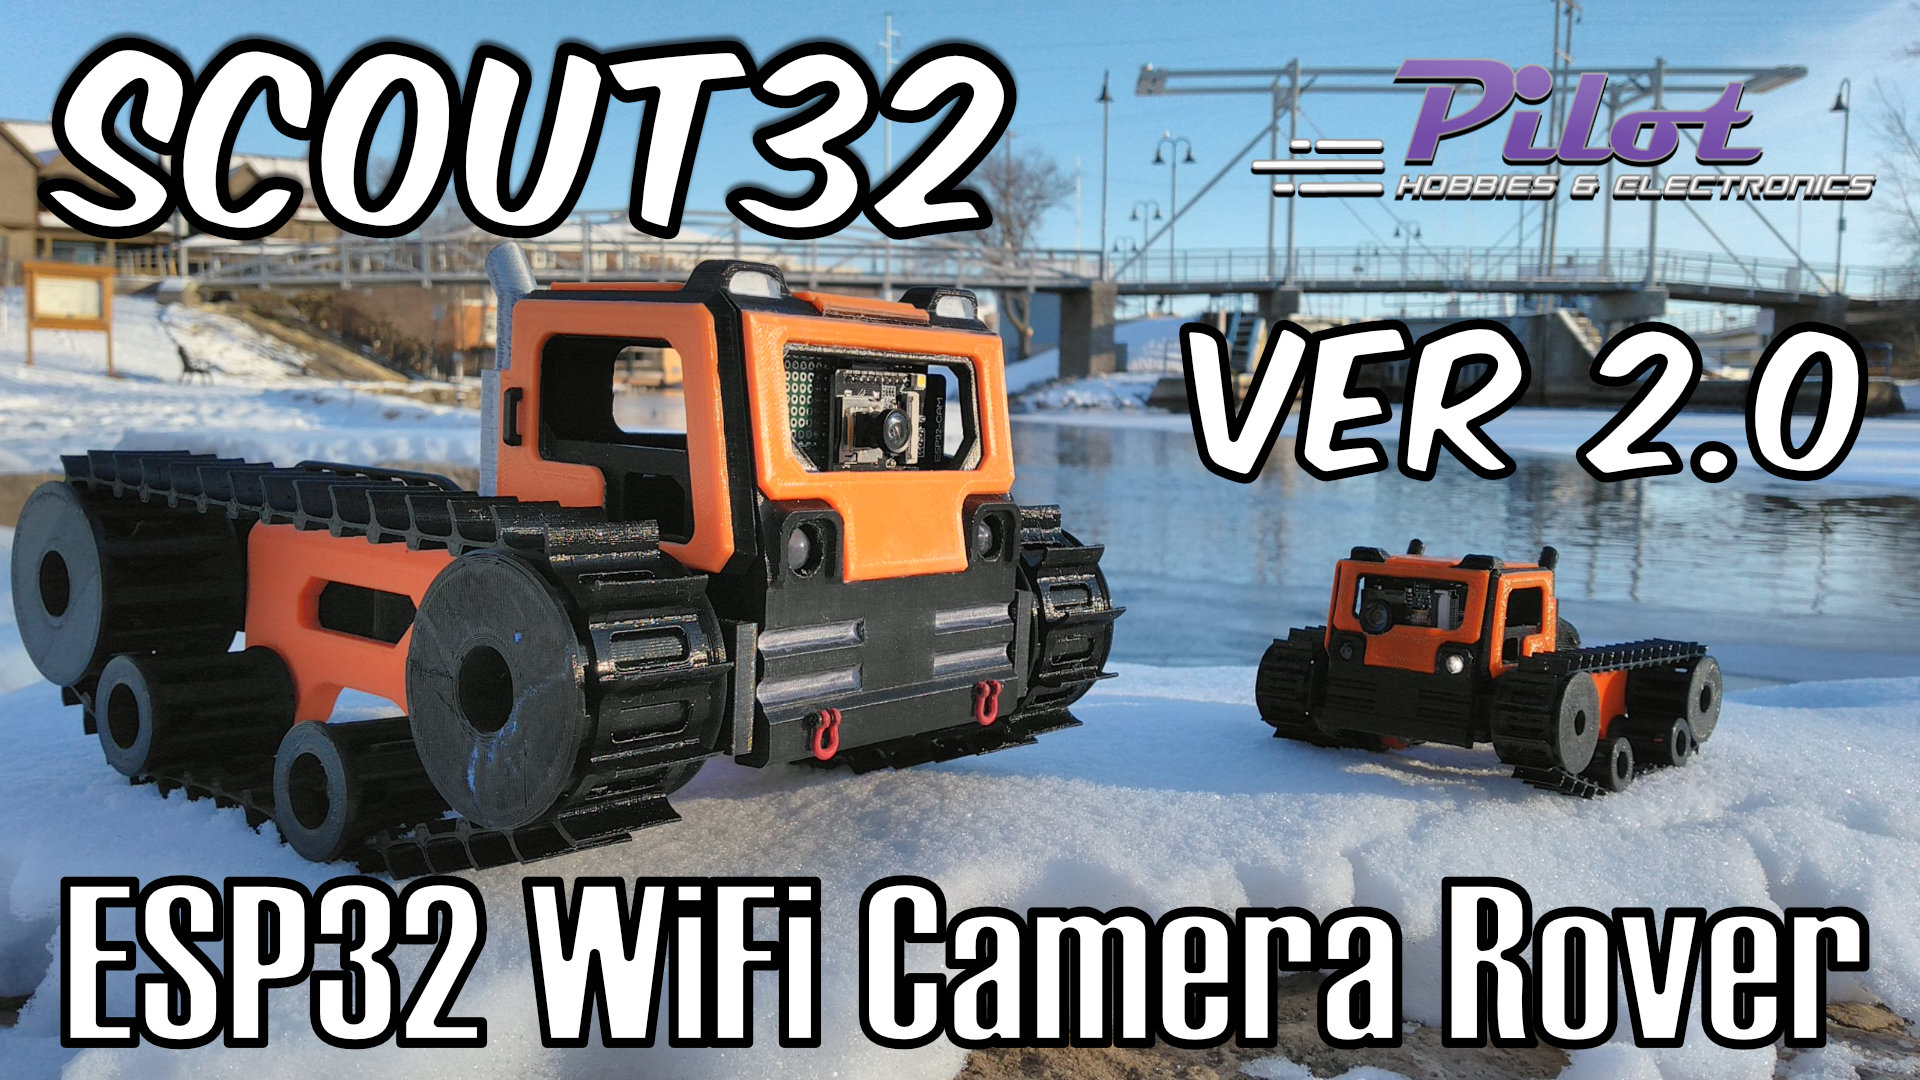
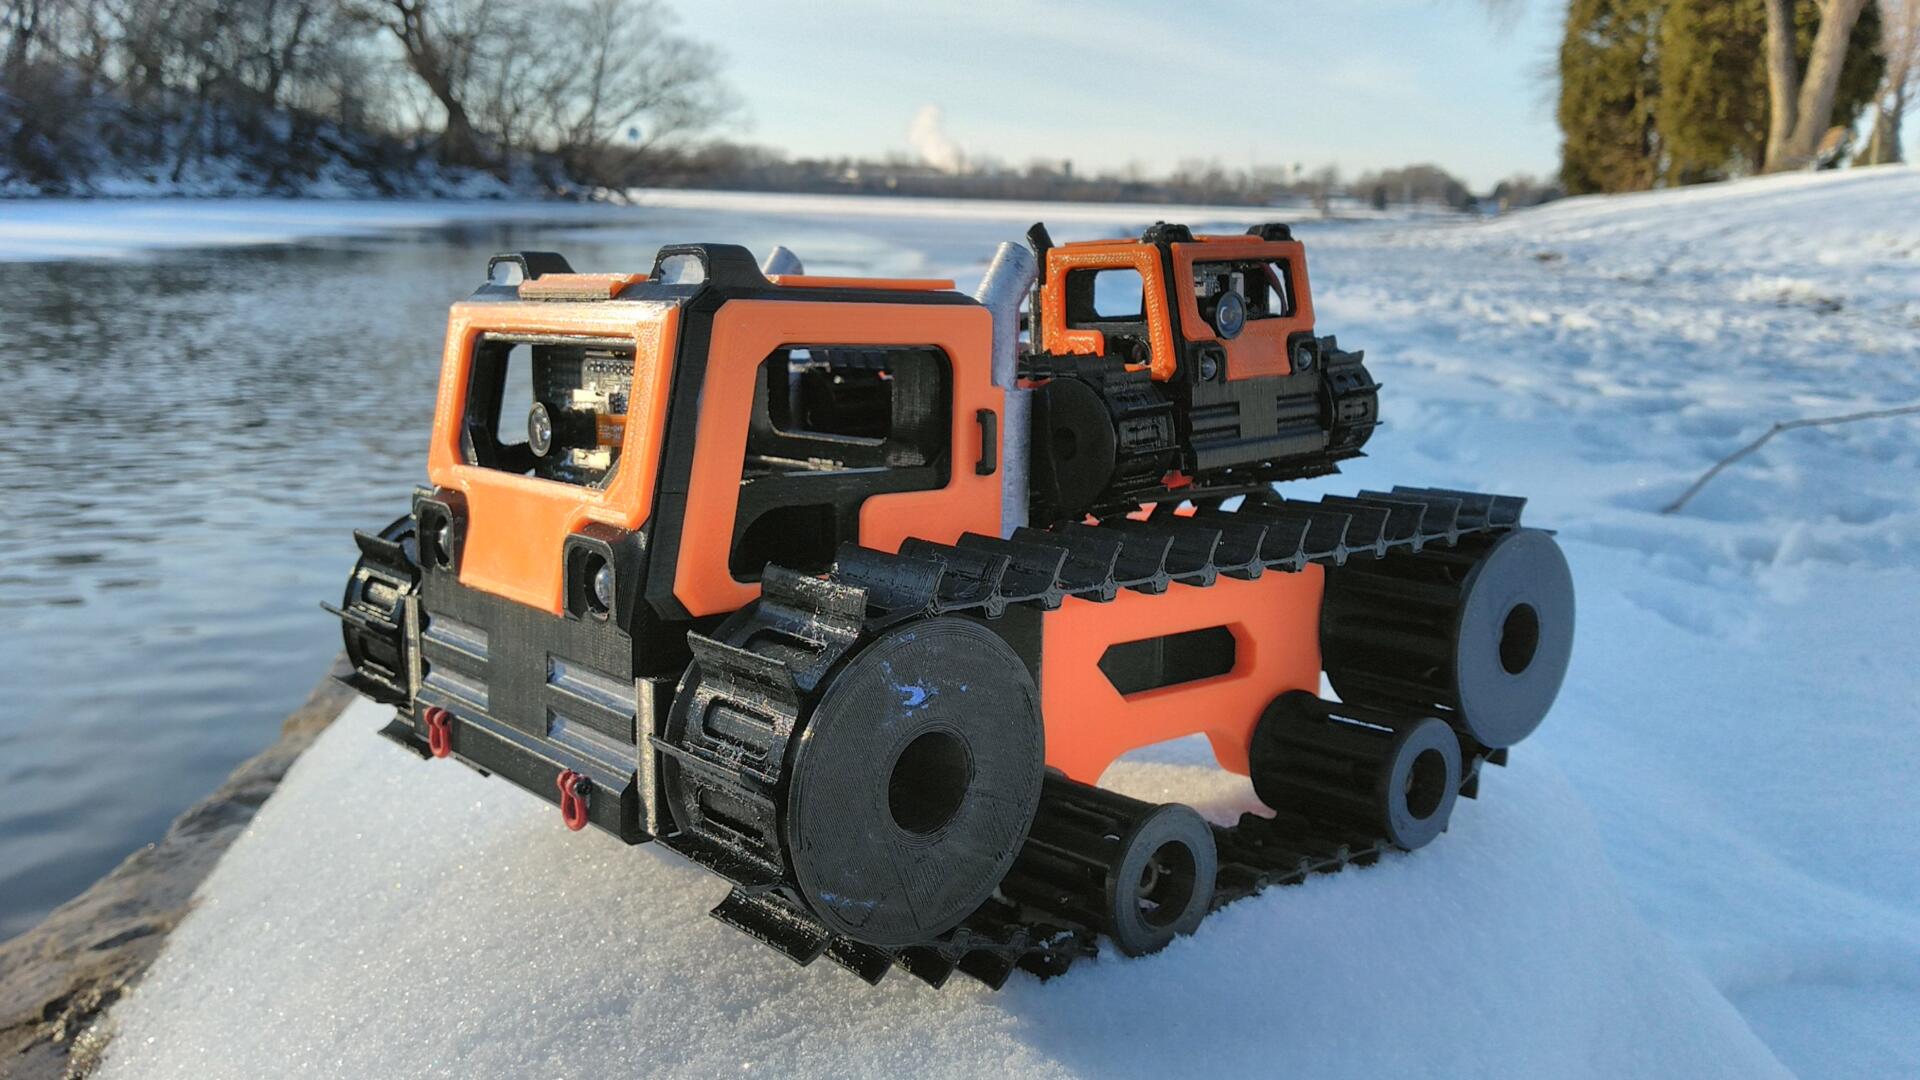
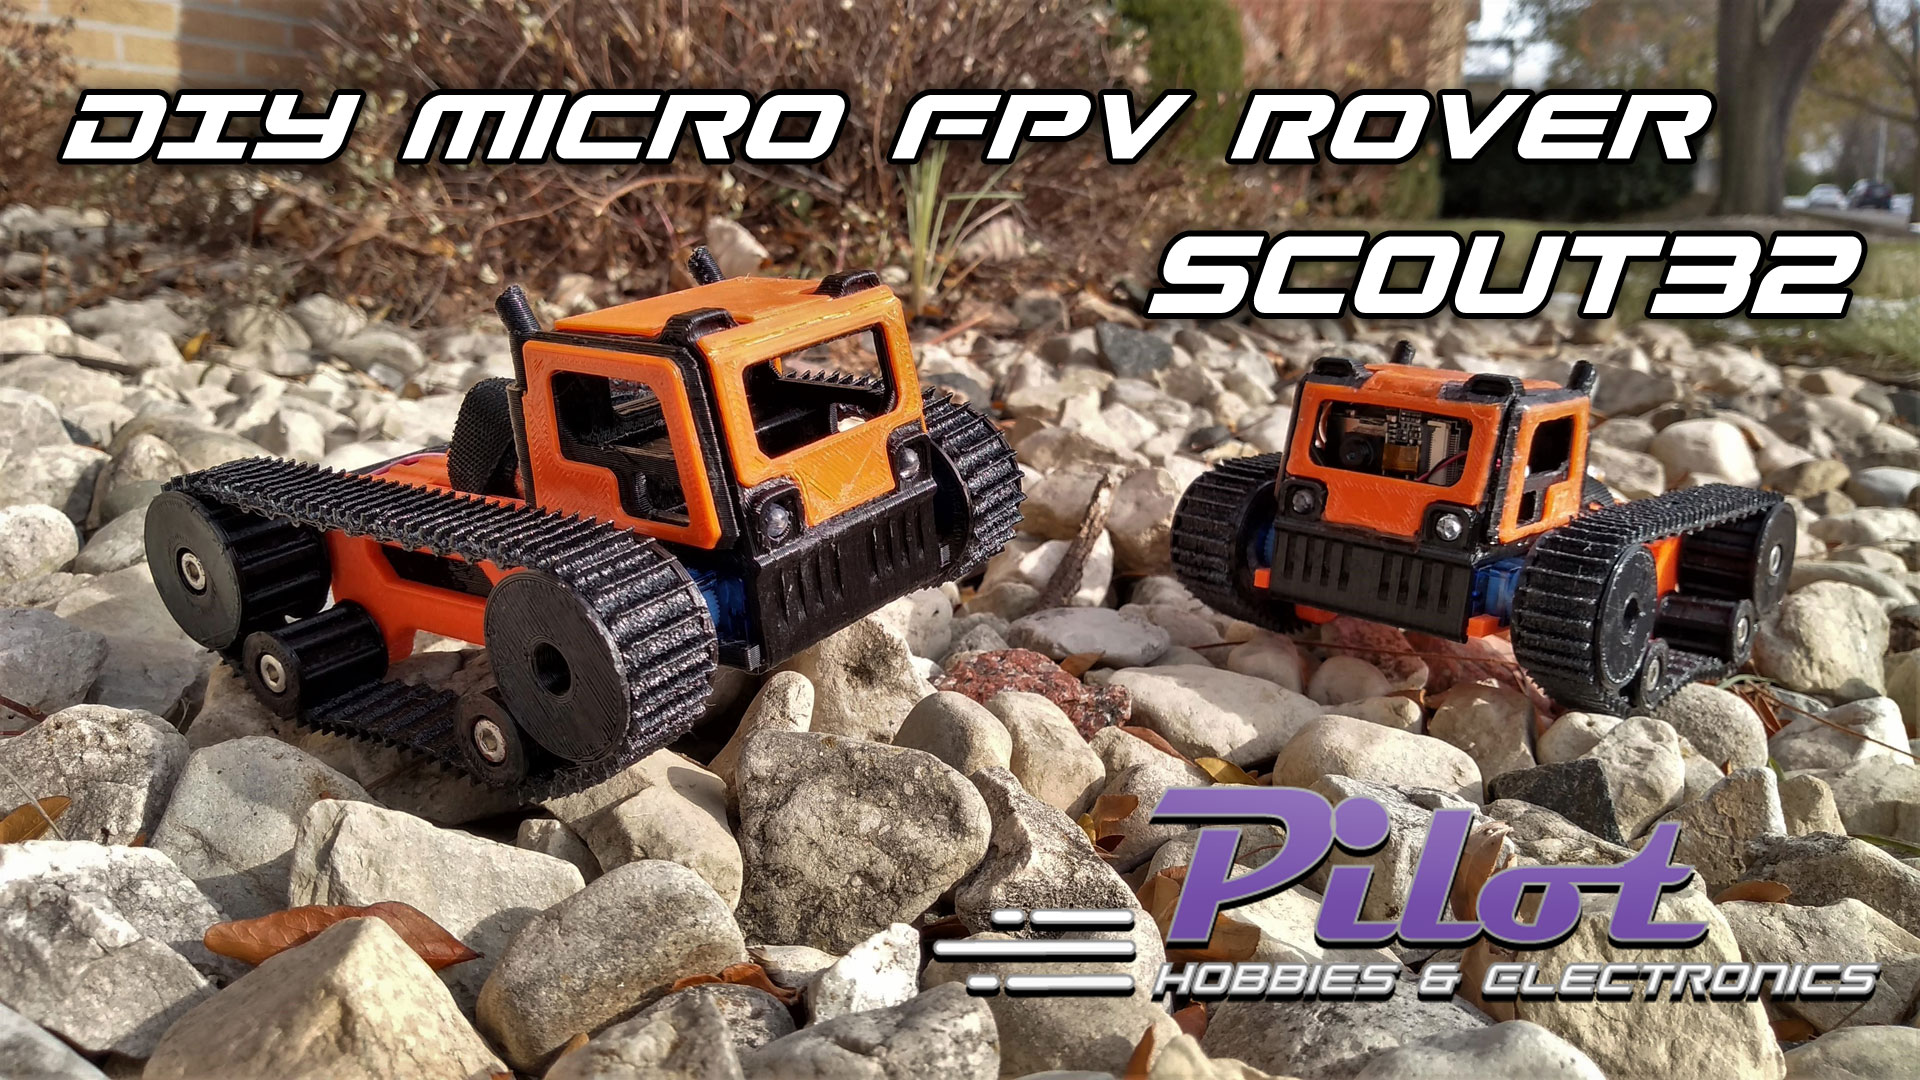
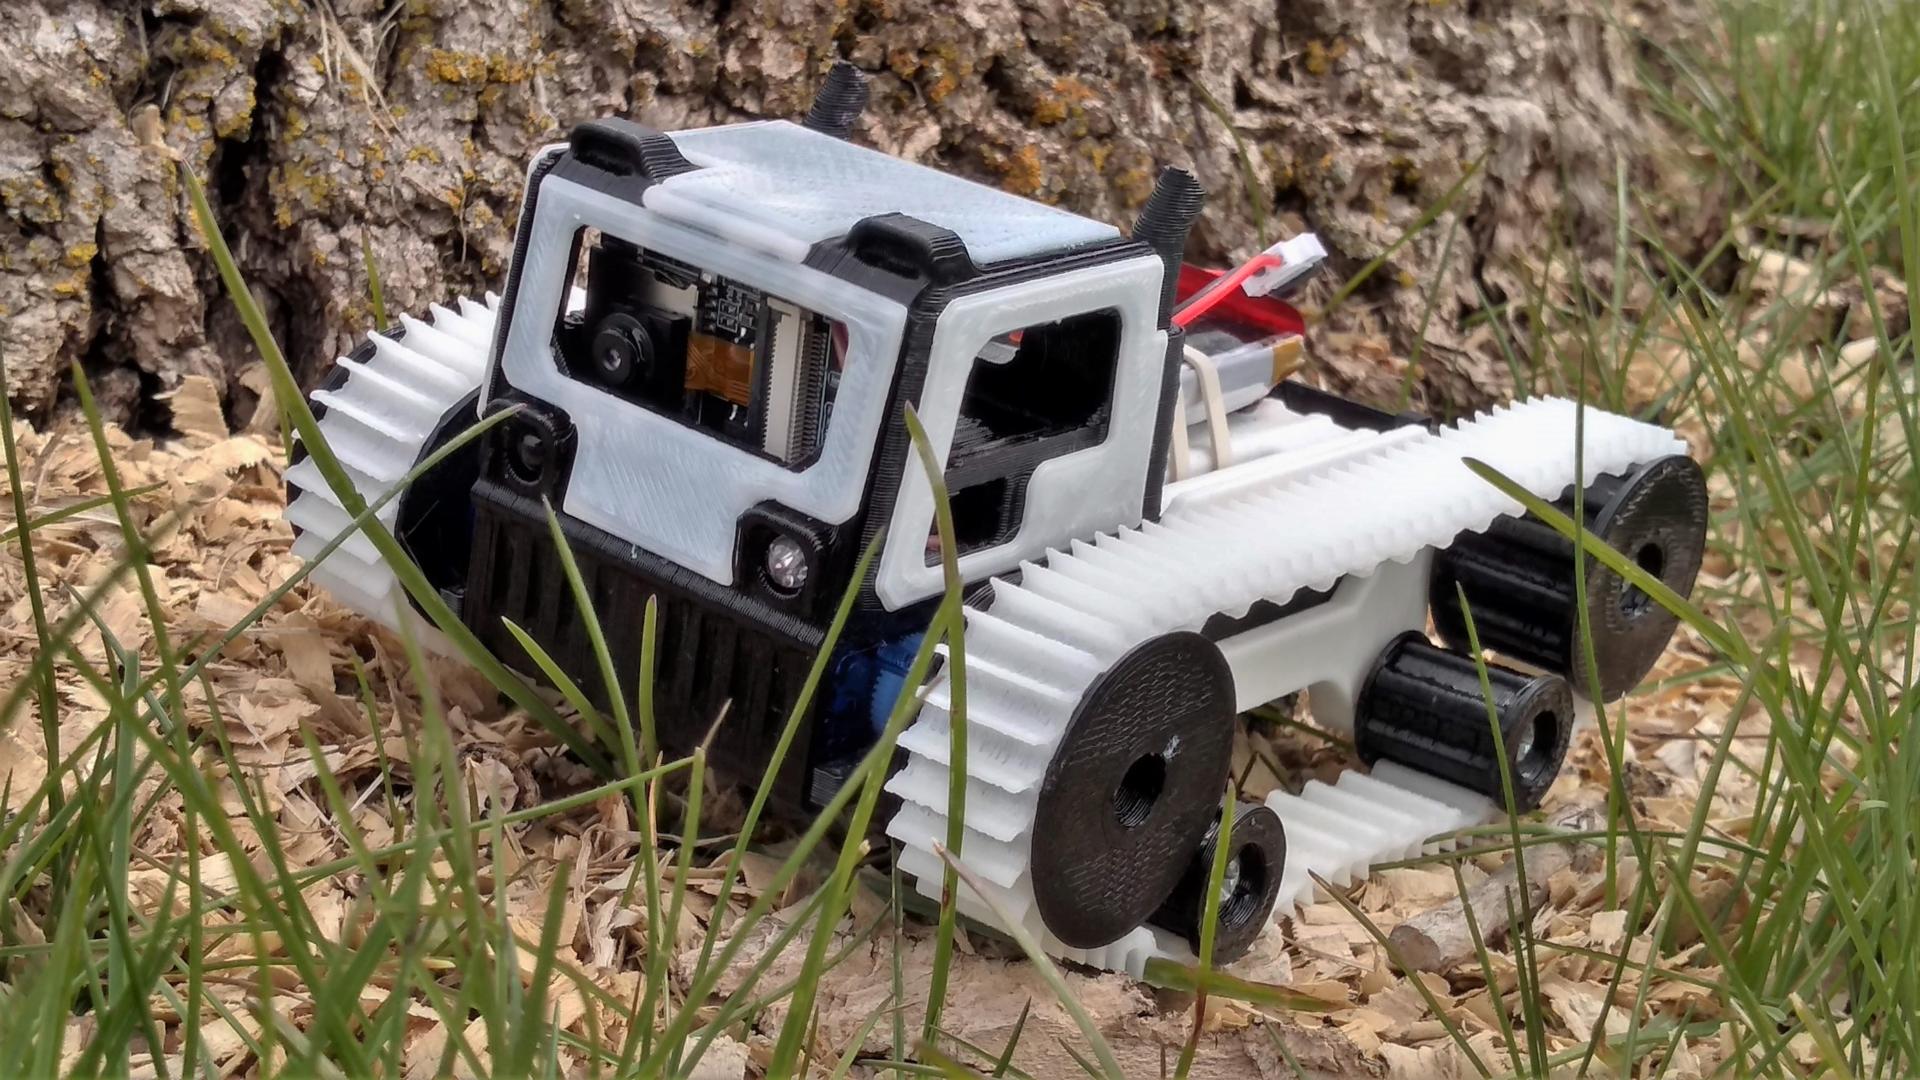
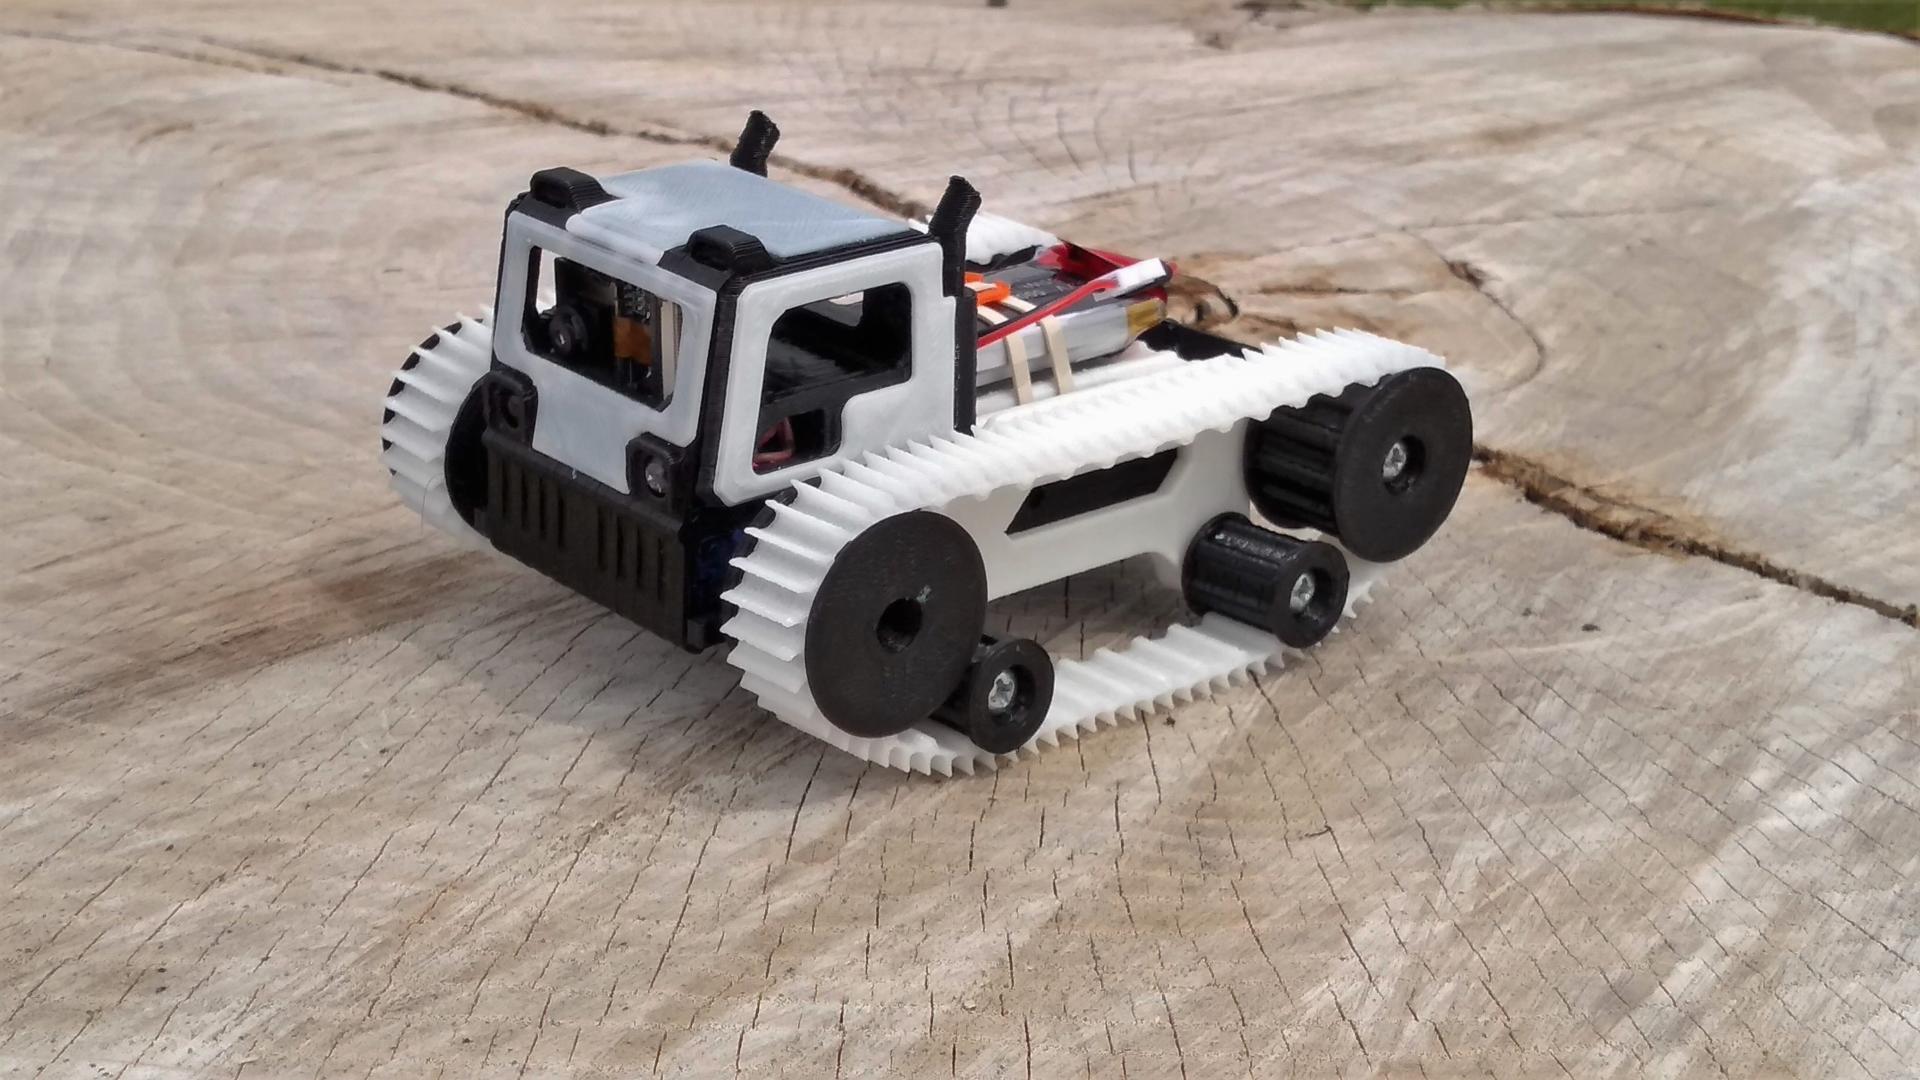
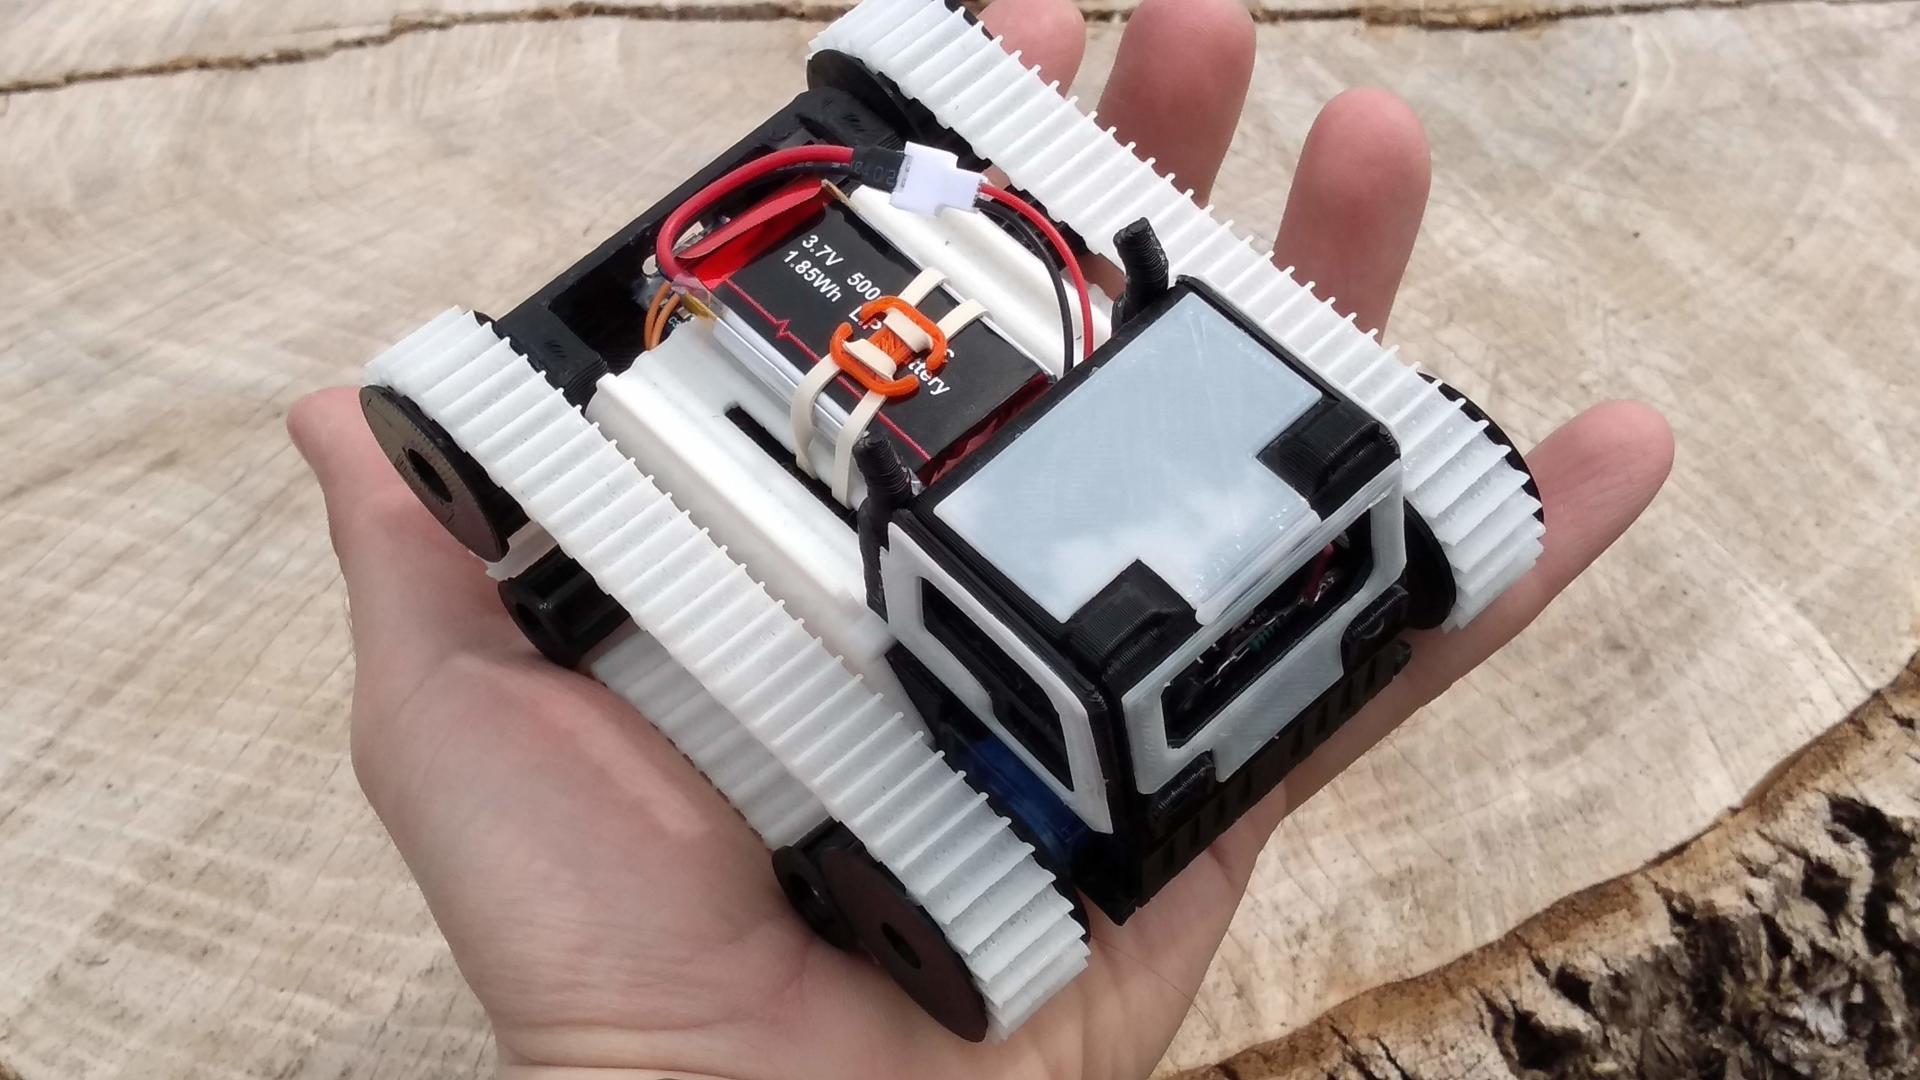
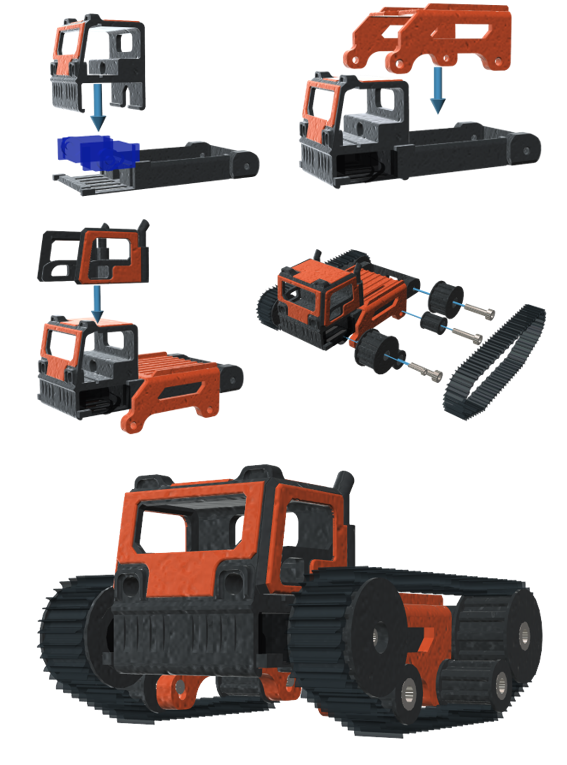
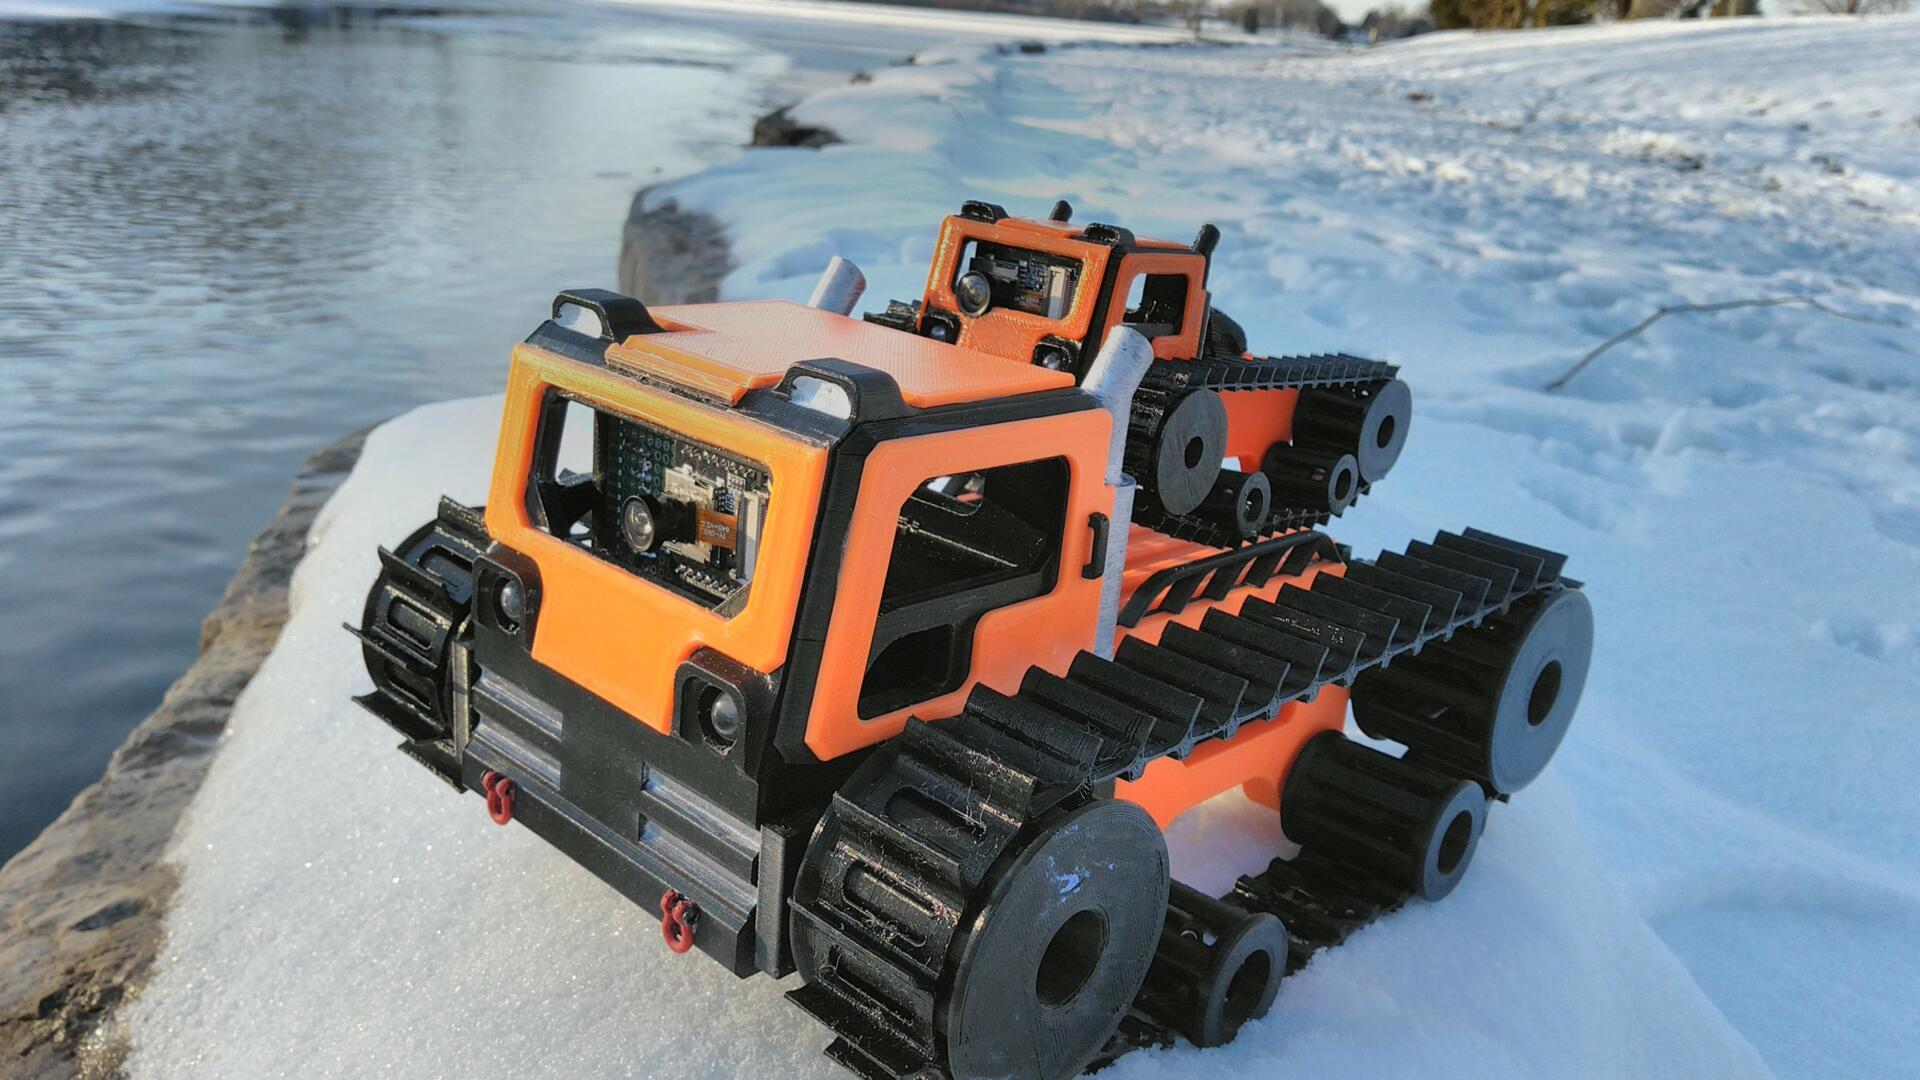
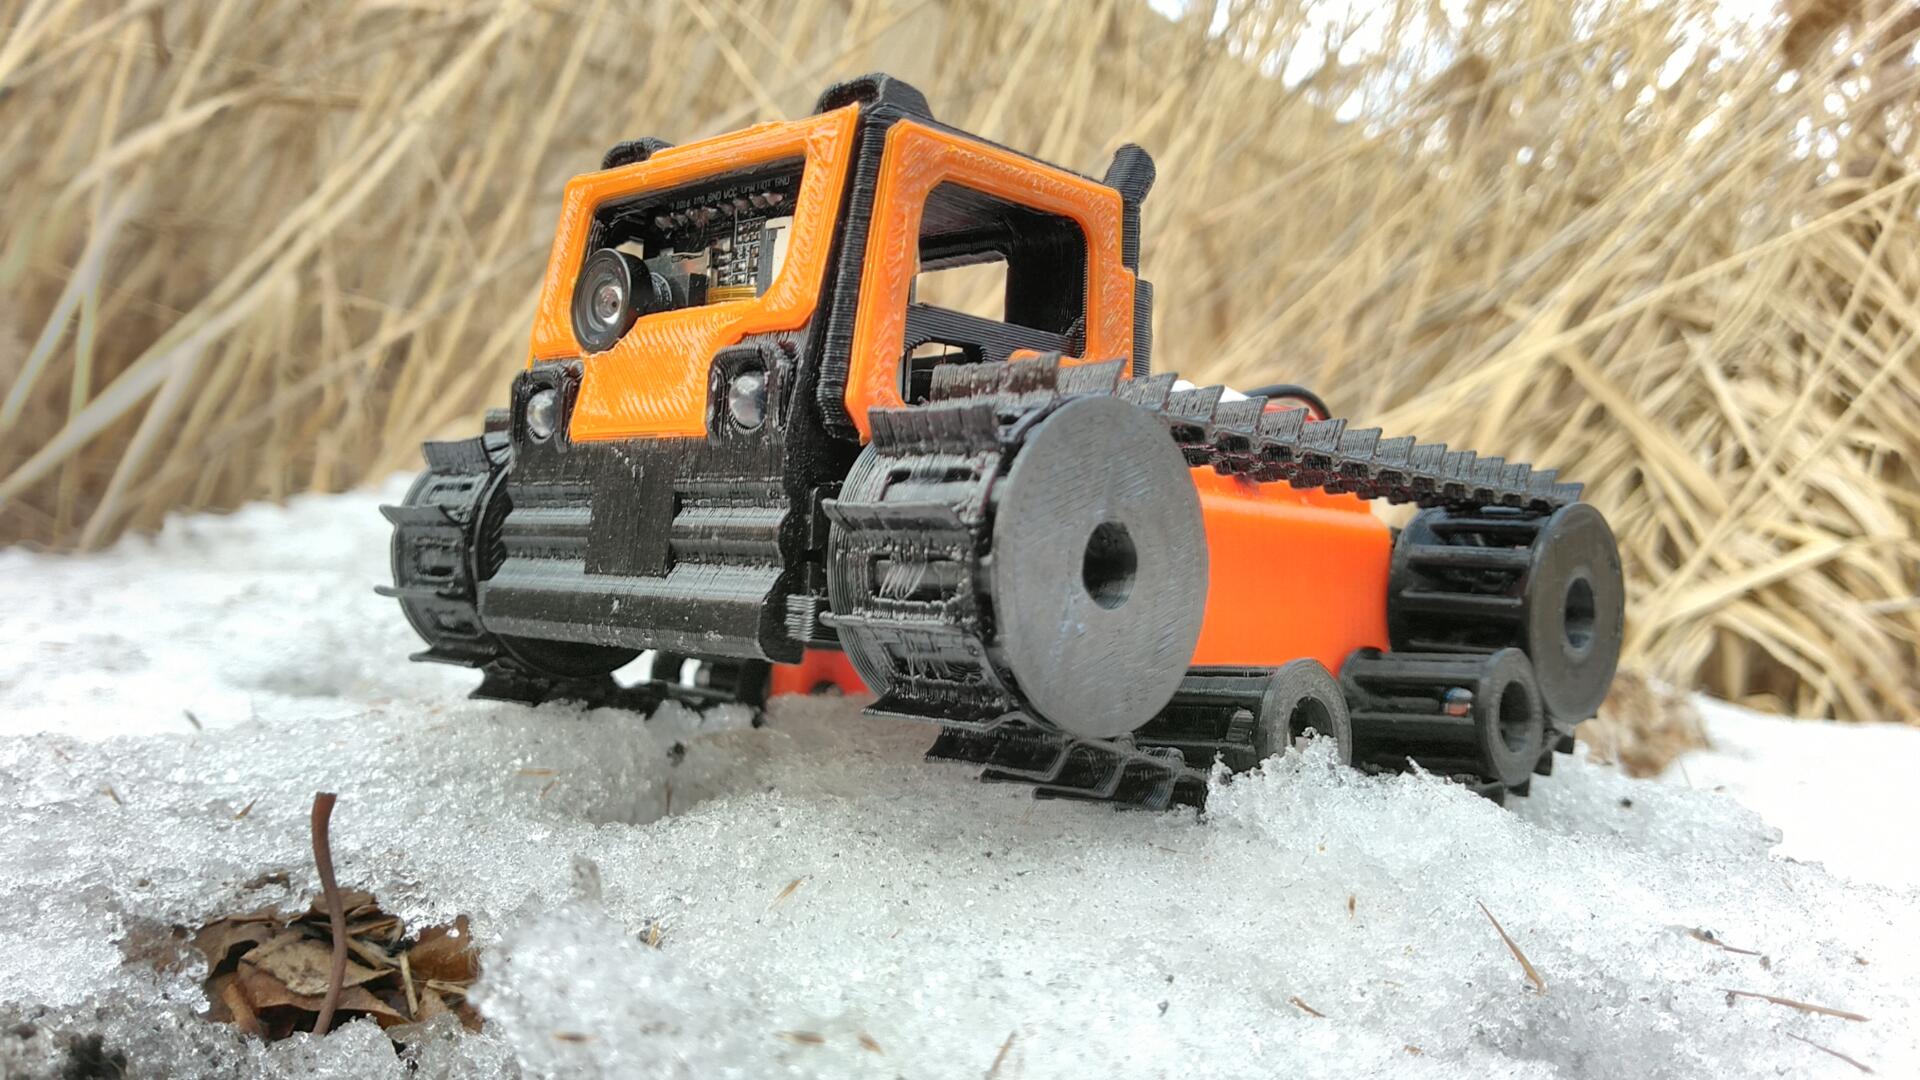
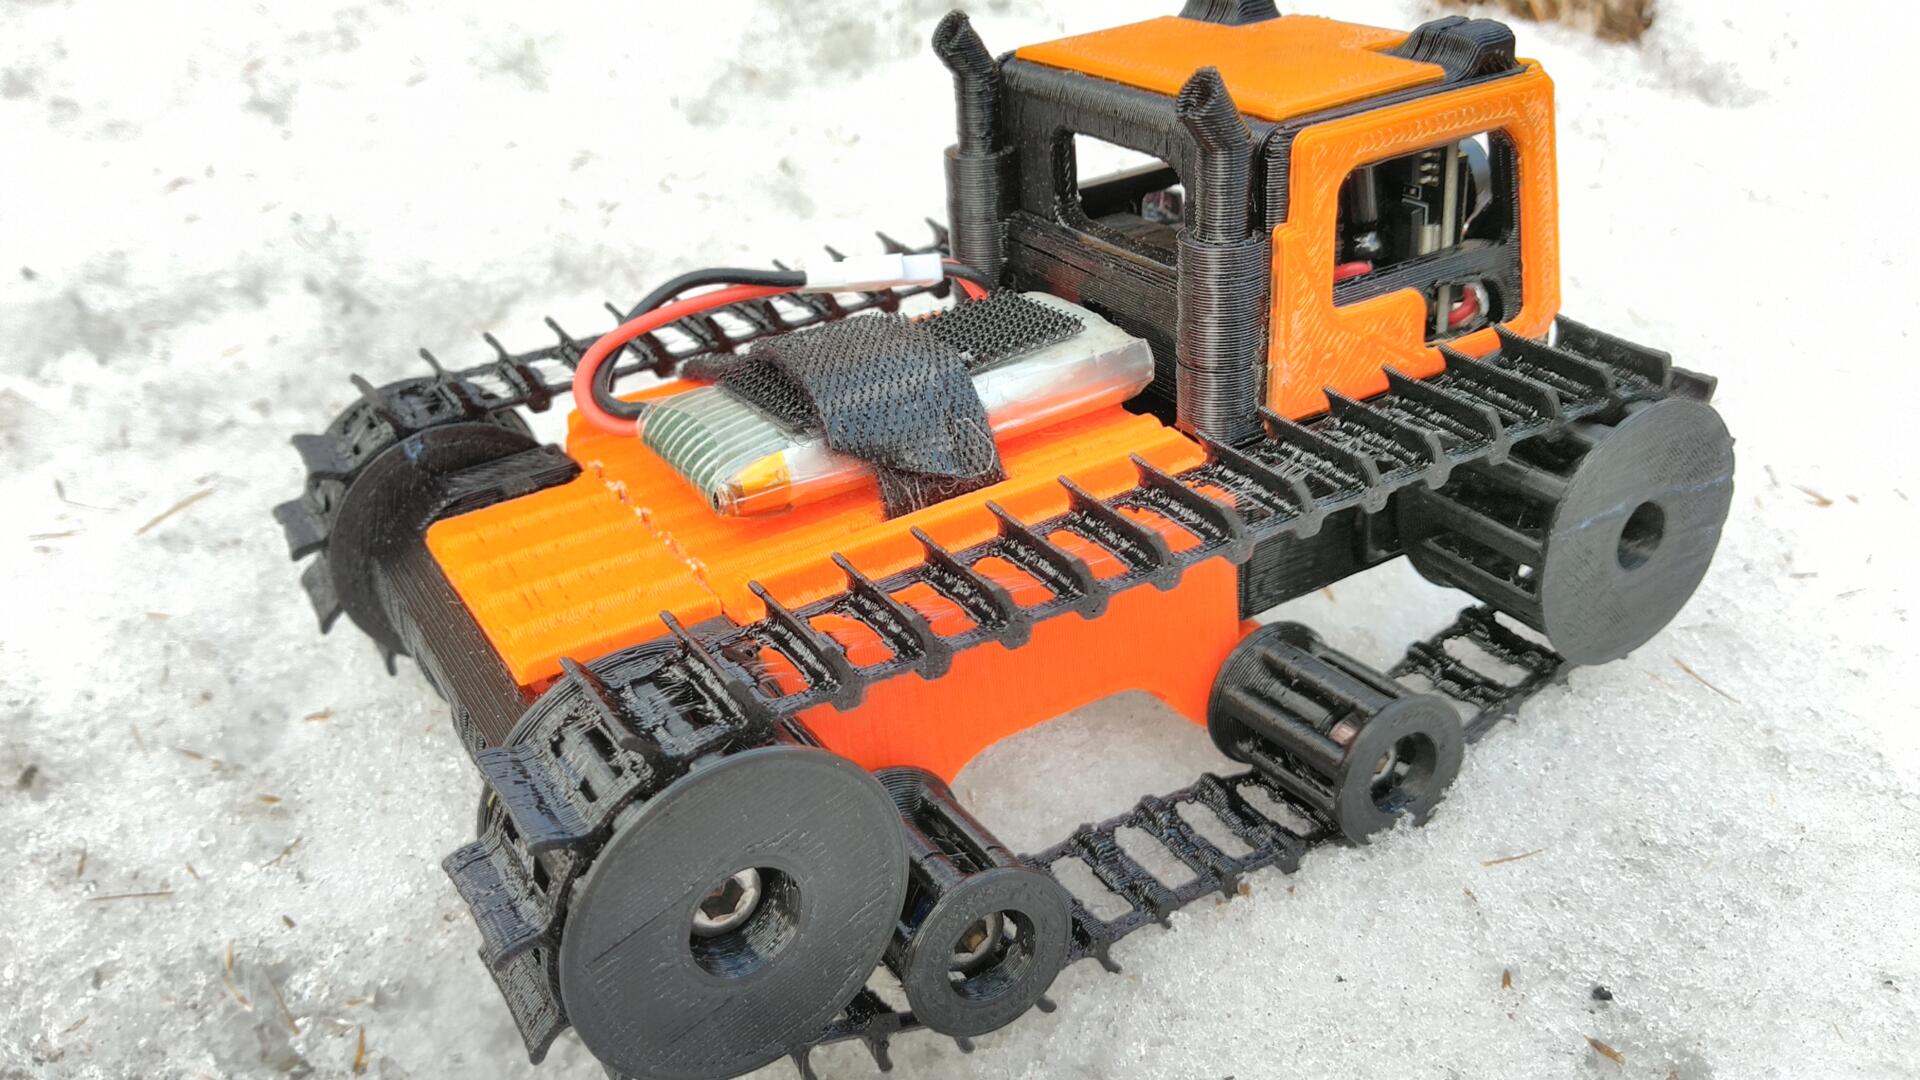
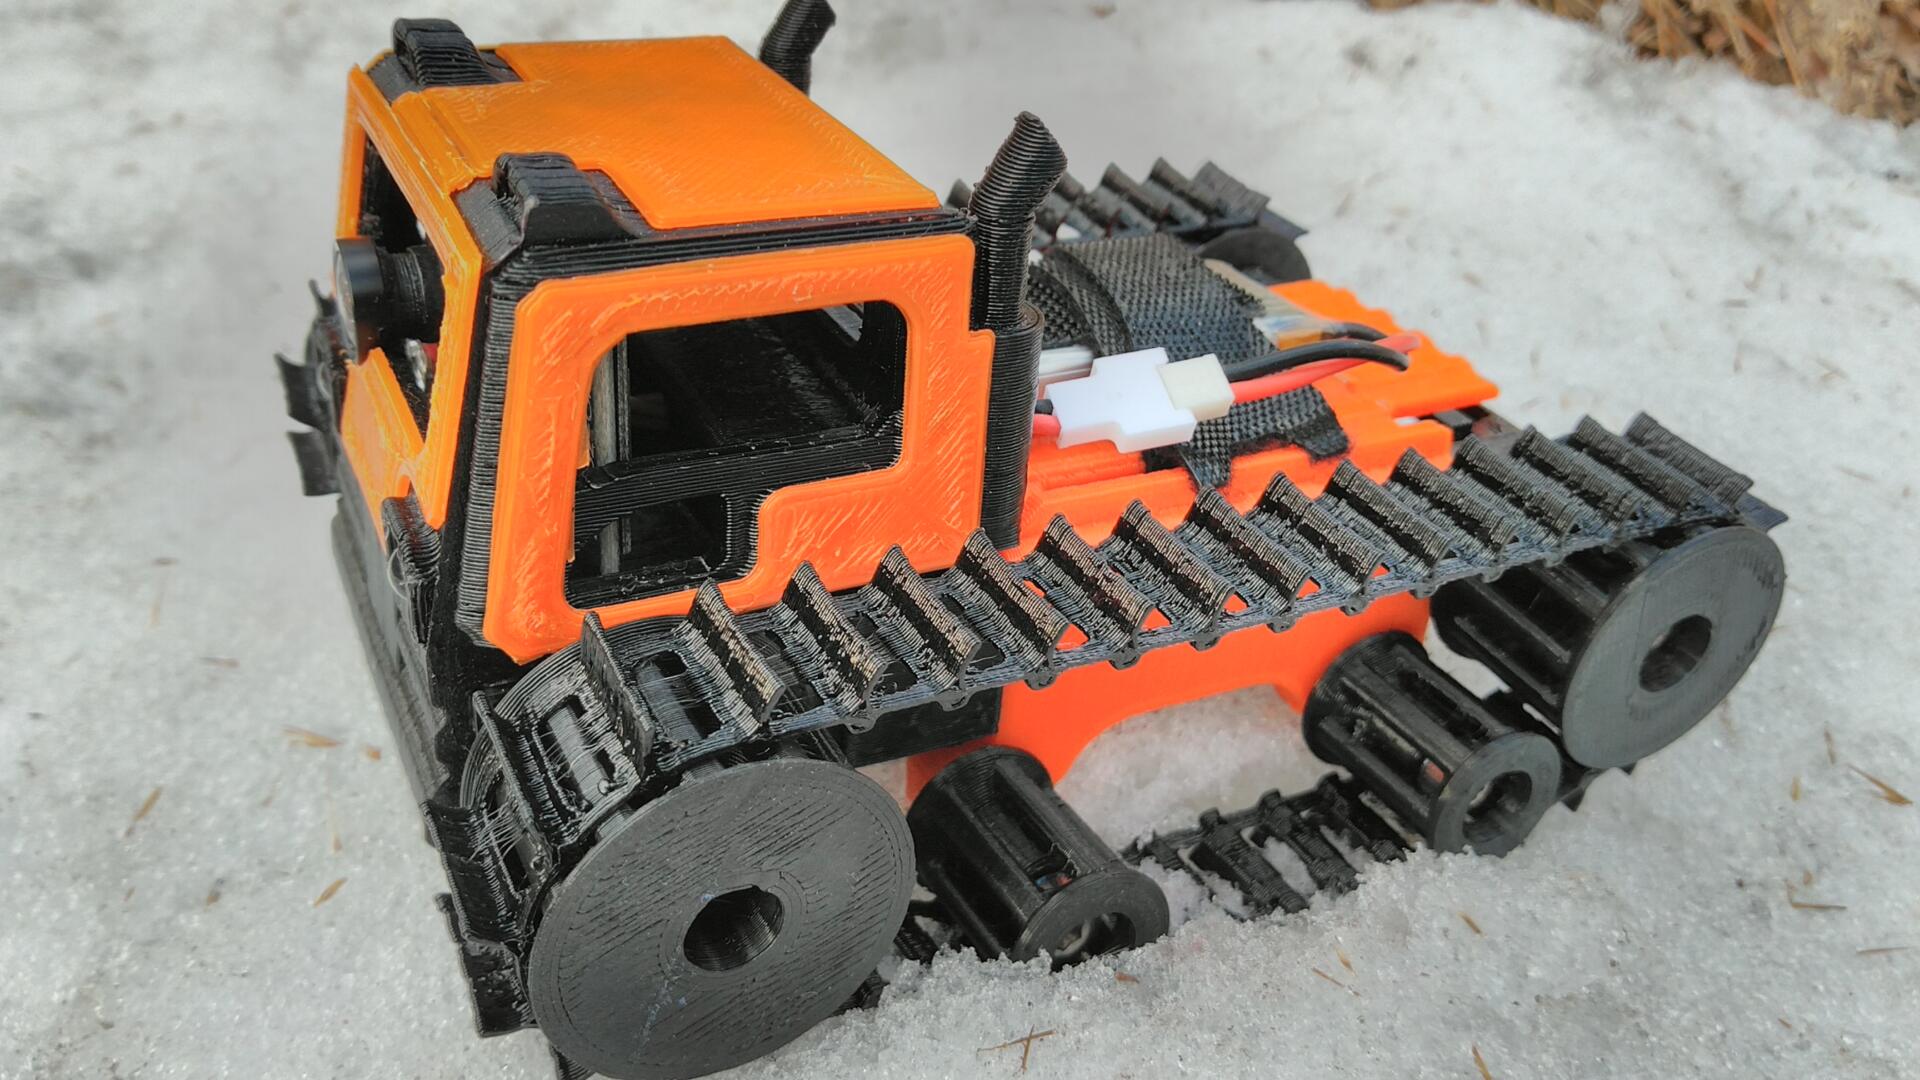
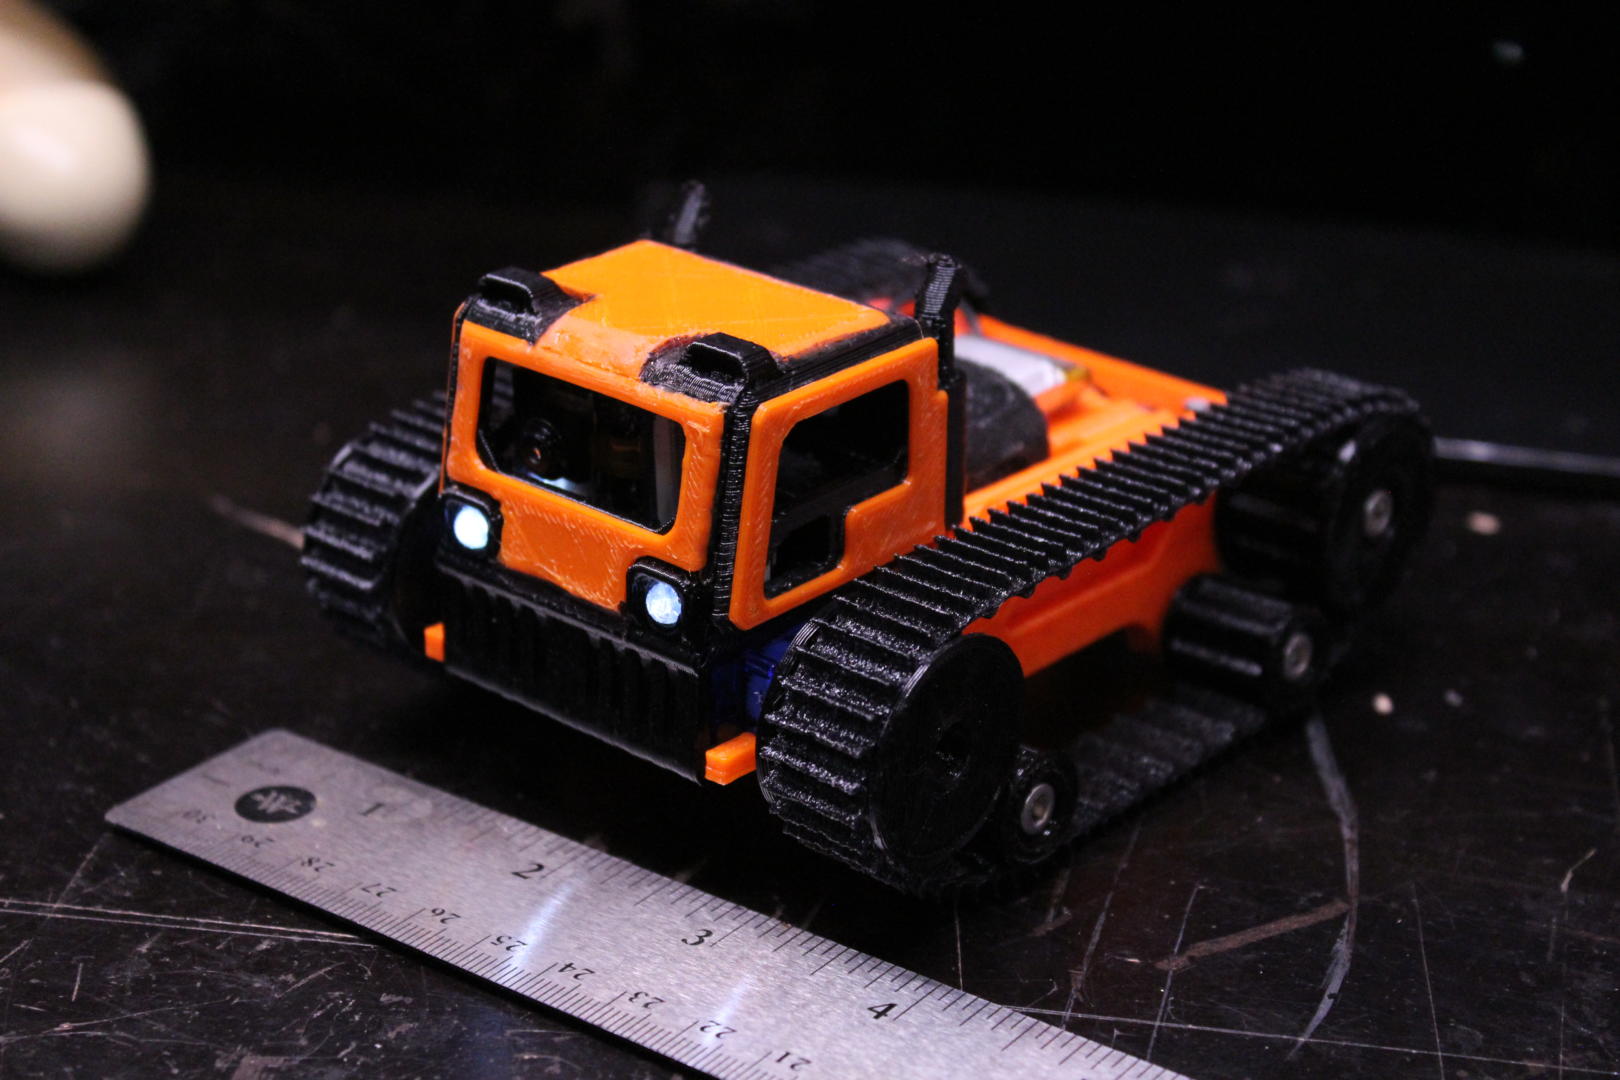
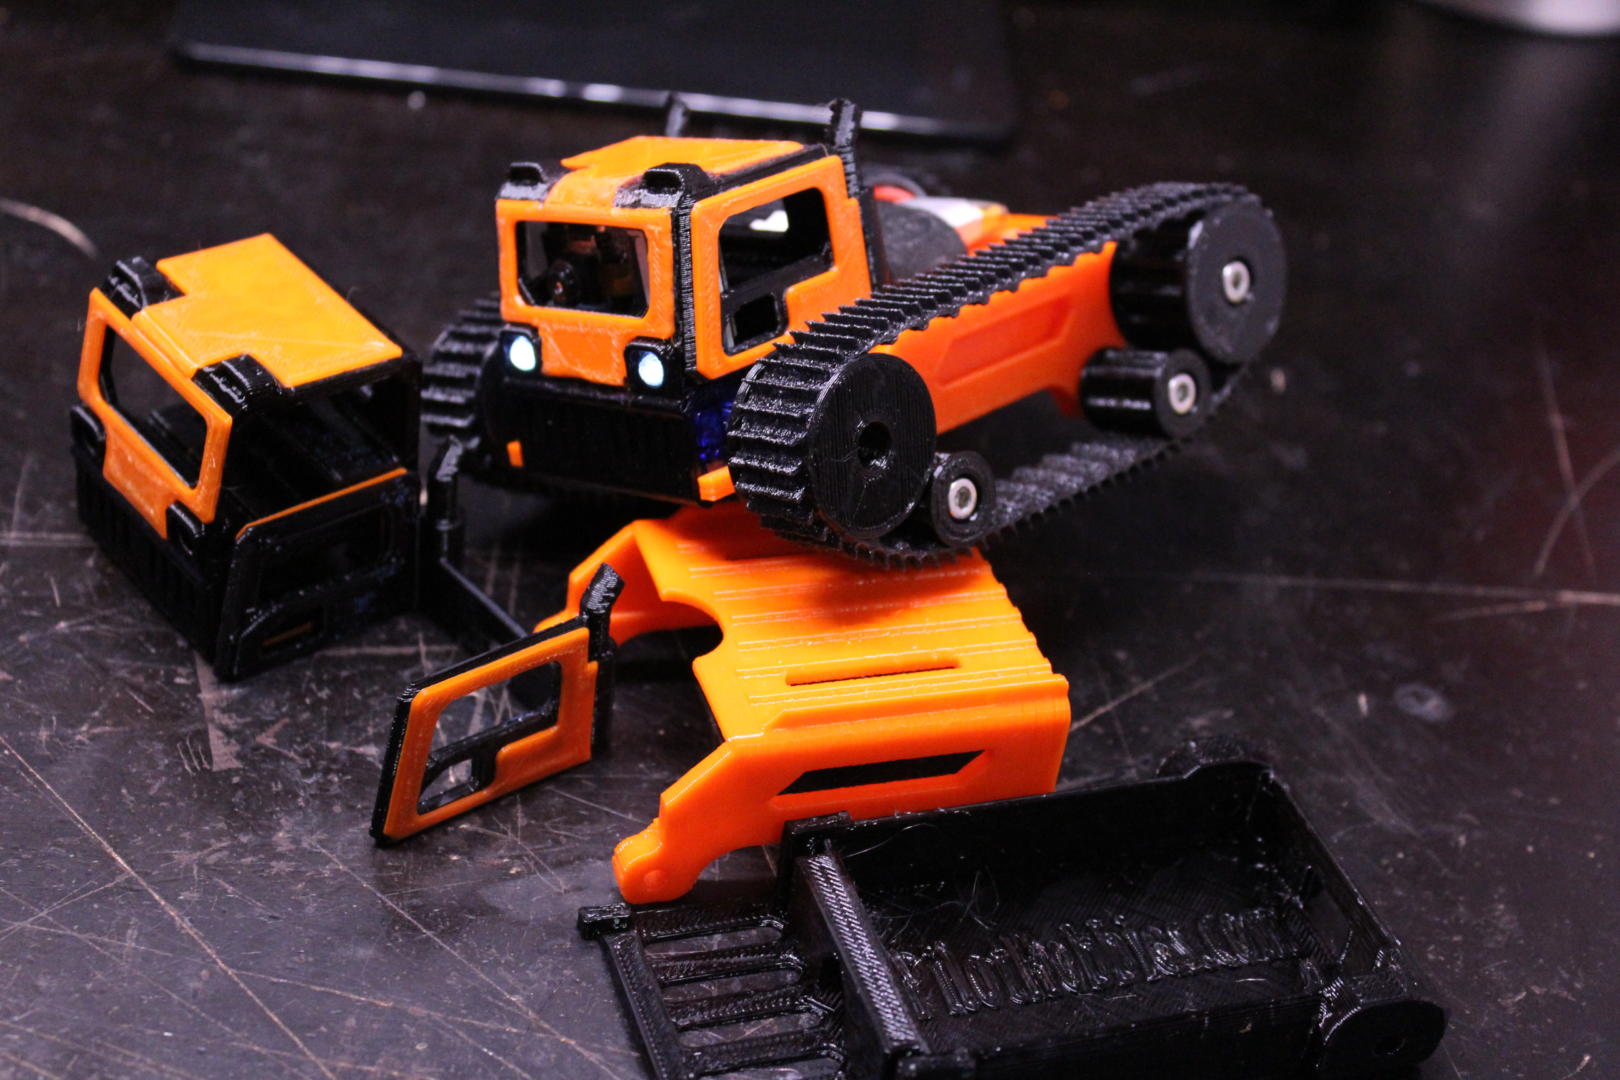
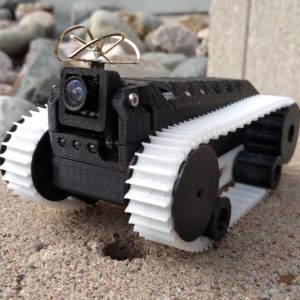
The Scout is a micro tracked FPV Rover using all snap-together 3D printed components and SG90 servos, making for a cheap and versatile platform for hobbyists. The cab is designed to resemble a full-scale “snowcat” type vehicle, with scale features such as 5mm headlights, doors, and exhaust. There is a large truck bed, allowing large batteries to be strapped down via velcro straps, with plenty of room under the bed for electronics.
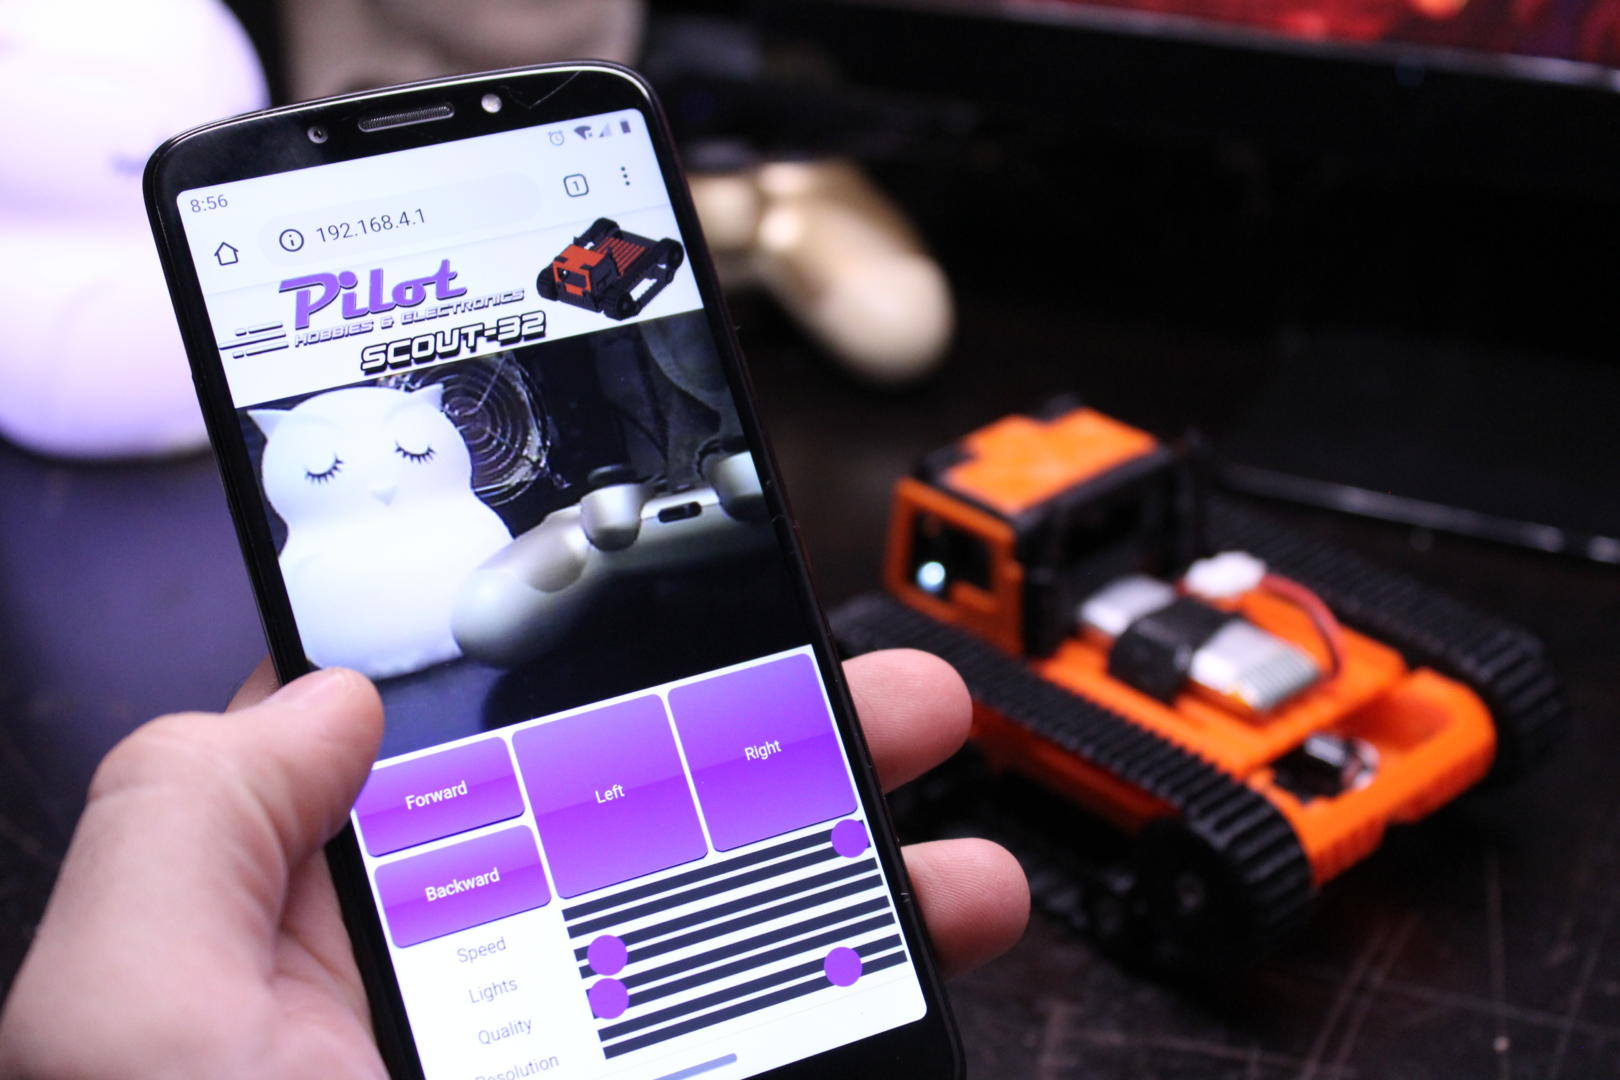
The Scout can be used with conventional hobby radio equipment but was designed to utilize an ESP32-CAM module, which is designed to fit in the cab and provide full control and FPV feed to any computer or smartphone. Arduino sketches are provided, so configuring an ESP32 yourself is as simple as upload and go.
Once the Scout32 is running, connect your phone or PC to the wifi network “Scout32”, and enter 192.168.4.1 in your web browser to load the app.
Features
- Dual TowerPro™ SG90 Servos
- 5mm LED Headlights
- Compatible with ESP32-CAM
- Dimensions (V4):
- Under Bed Area: 70mm x 45mm x 13.5mm
- Bed Surface: 52mm x 48mm
- 45mm x 16.5mm cutout for plugs at rear
- 8mm half-circle cutout for wires at front
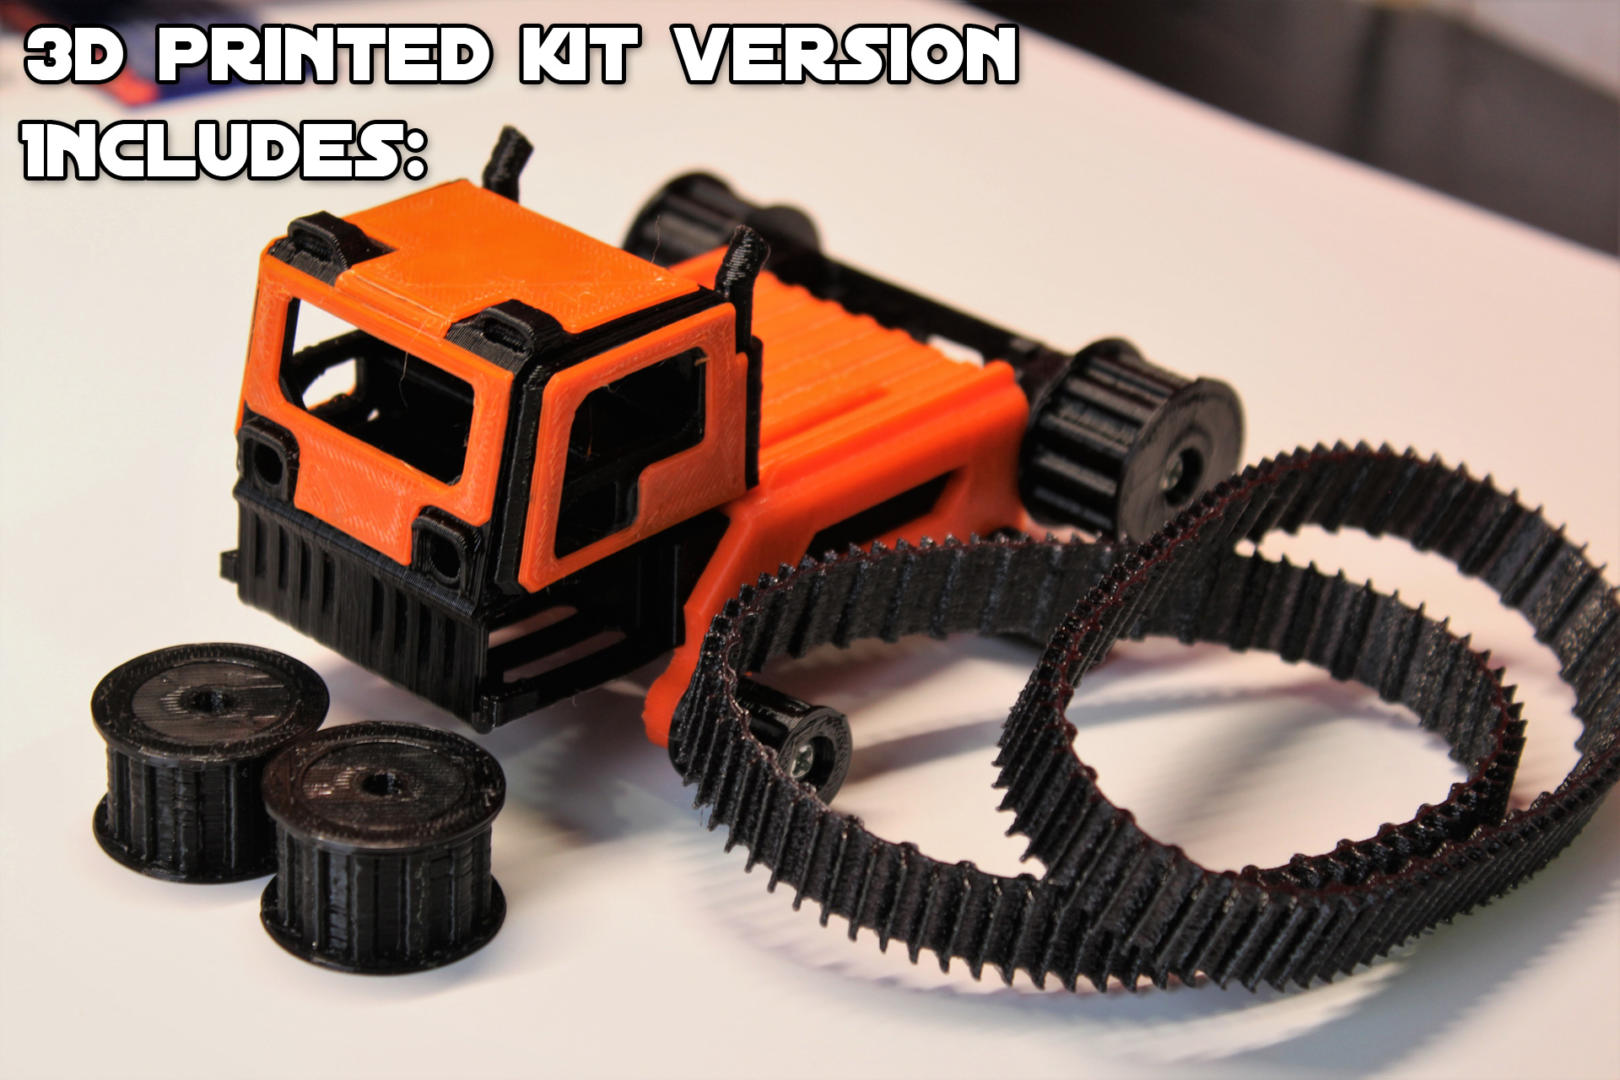
Parts included with DIY Kit
- 3D Printed Chassis, Wheels, and Tracks
- M4 x 20mm Screws
Build Guide
ESP32 Firmware Flashing
Required to complete the kit:
You will need a battery, voltage regulator, continuous rotation SG90 servos, and ESP32-CAM OR receiver of choice. For reference, I have made an Instructional Video which describes both ESP32 and hobby receiver builds.
All parts are designed to print with a 0.4mm nozzle. Servo spline on drive wheels may require printing at a lower speed. If fit is not correct, drive wheels may be scaled +/- 1%.
Some parts are print-to-order – Please allow a few days for shipping. Alternative colors may be requested.
Parts Selection for Building:
The links below are sponsored promotions through the Amazon Affiliate program. Purchasing parts through these links ensures part compatibility, and greatly helps me to fund further products!
Depending on what you want to build, you may have to pick and choose parts!
Tracks & Chassis
Tracks are printed in TPU. I use a fairly stiff 95a shore hardness. You may be able to use softer TPU with varying levels of success, but most printers should handle the 95A without issue. I use PLA for the chassis, and have had great quality prints with the brands below.
Electronics, Motors & Hardware
- ESP32-CAM – Includes ESP32-CAM and Programmer
- N20 Gear Motor with MX1508 Build
- 2x N20 Gear Motors
- MX1508 Motor Driver
- M4x20mm Screws – Axle Screws
- 3x6mm Grub Screw for Drive Wheels
- Servo Build
- 2x Continuous Rotation Servos
- M4x20mm Screws – Axle Screws
- ScoutXL Build
- 2x 25GA-370 500rpm Gear Motors
- M5 x 40mm Screws For Axles
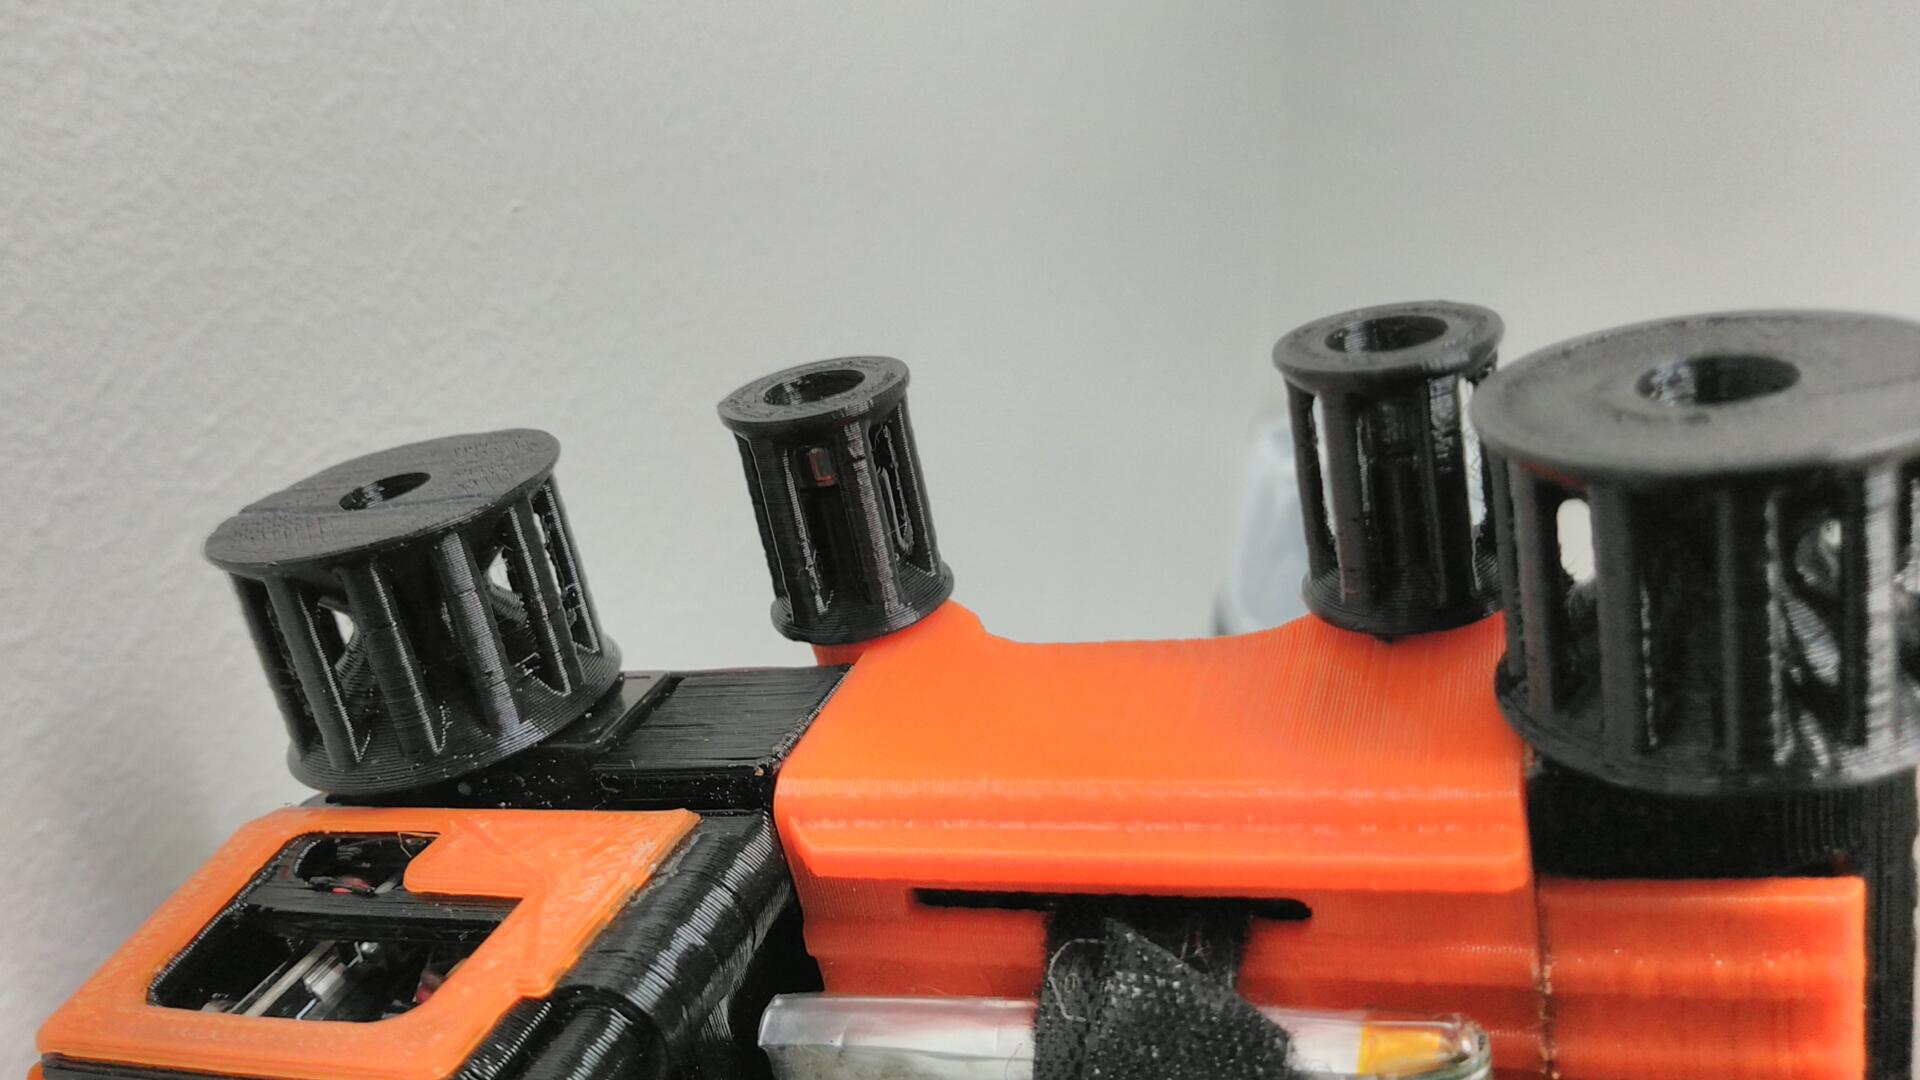
- 5x11x4mm Ball Bearings for Idlers
- 3x6mm Grub Screw for Drive Wheels
- 2x Electronic Speed Control without Brake
- Optional
Power Options
1s Lipo Power with Charger
Optional parts for 1s LiPo power. Onboard charging is optional, but a convenient feature. Others have also had success powering their Scout via small USB power banks to provide power.
- 1s Micro USB Charger
- 1s to 5v Booster (Adjustable) OR
- 1s to 5v Booster (Fixed)
- SPST Switch
- LIPO Batteries & Charger
- Battery Leads
9V Battery Power Setup
This method is the newer cheaper and easier method. Instead of using a 1s lipo with a voltage booster, this opts for a 9v battery with a 5v regulator. Modern 9v lipo batteries are now available, which are really 2s lipo packs with integrated chargers.
9V Battery Power Setup
You’ll need a 2S LiPo for power, around 1500mah – 2000mah. The ESCs listed have a 5v regulator built in which can be used to power the ESP32. Connect the 5v power from one ESC, using just signal and ground from the other.
Using the RTR Scout32
- Charge the Scout32 via MicroUSB at the rear. Red light turns on while charging. Blue light turns on when full.
- Turn on Scout32 via switch. Scout32 is ready when lights flash.
- Connect your computer or phone to the wireless network “Scout32”.
- Open a web browser, and enter the address 192.168.4.1
- Once loaded, use the on-screen buttons to control the Scout32, or use the arrow keys on a keyboard.

alexandre039 (verified owner) –
Hello to you .
thank you to you very nice invention and magnificent work. I print them and install the electronics its working perfectly. install the wheels and snow caterpillar it goes everywhere camera at 70 degrees it is magnificent. all my neighbors want their Scout32. to test with a 160 degree camera.
sorry google translator.
thanks to Ross Peters
dayne waterlow (verified owner) –
Really great STL! Building mine with N20 motors and 2s lipo with standard RC rx. The only thing I was hoping to see was some print settings in the build file. Wall thickness, infill, and layer height recommendations could be useful (although my guesses seem fine).
alexandre039 (verified owner) –
hello to you Scout Build and wonderful assembly in 12 V with the L298N Driver Board Module, all is well thanks to the creator