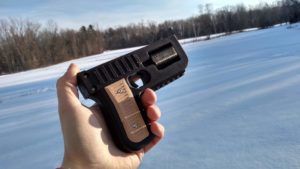
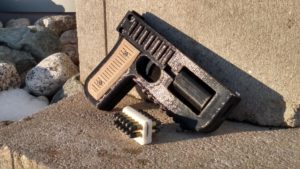
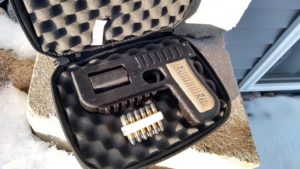
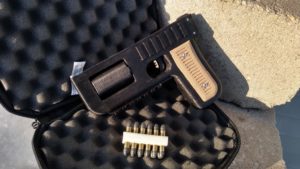
The PG22 series is my attempt at a 3D printed firearm. There have been a few variations, each trying to build off the previous ideas which worked. The current iteration, the PG22 Maverick, is a 6-shot .22 short single-action revolver. Functionality is similar to a Pepperbox Revolver.
Thank you for your interest, I will not be publicly sharing the files.
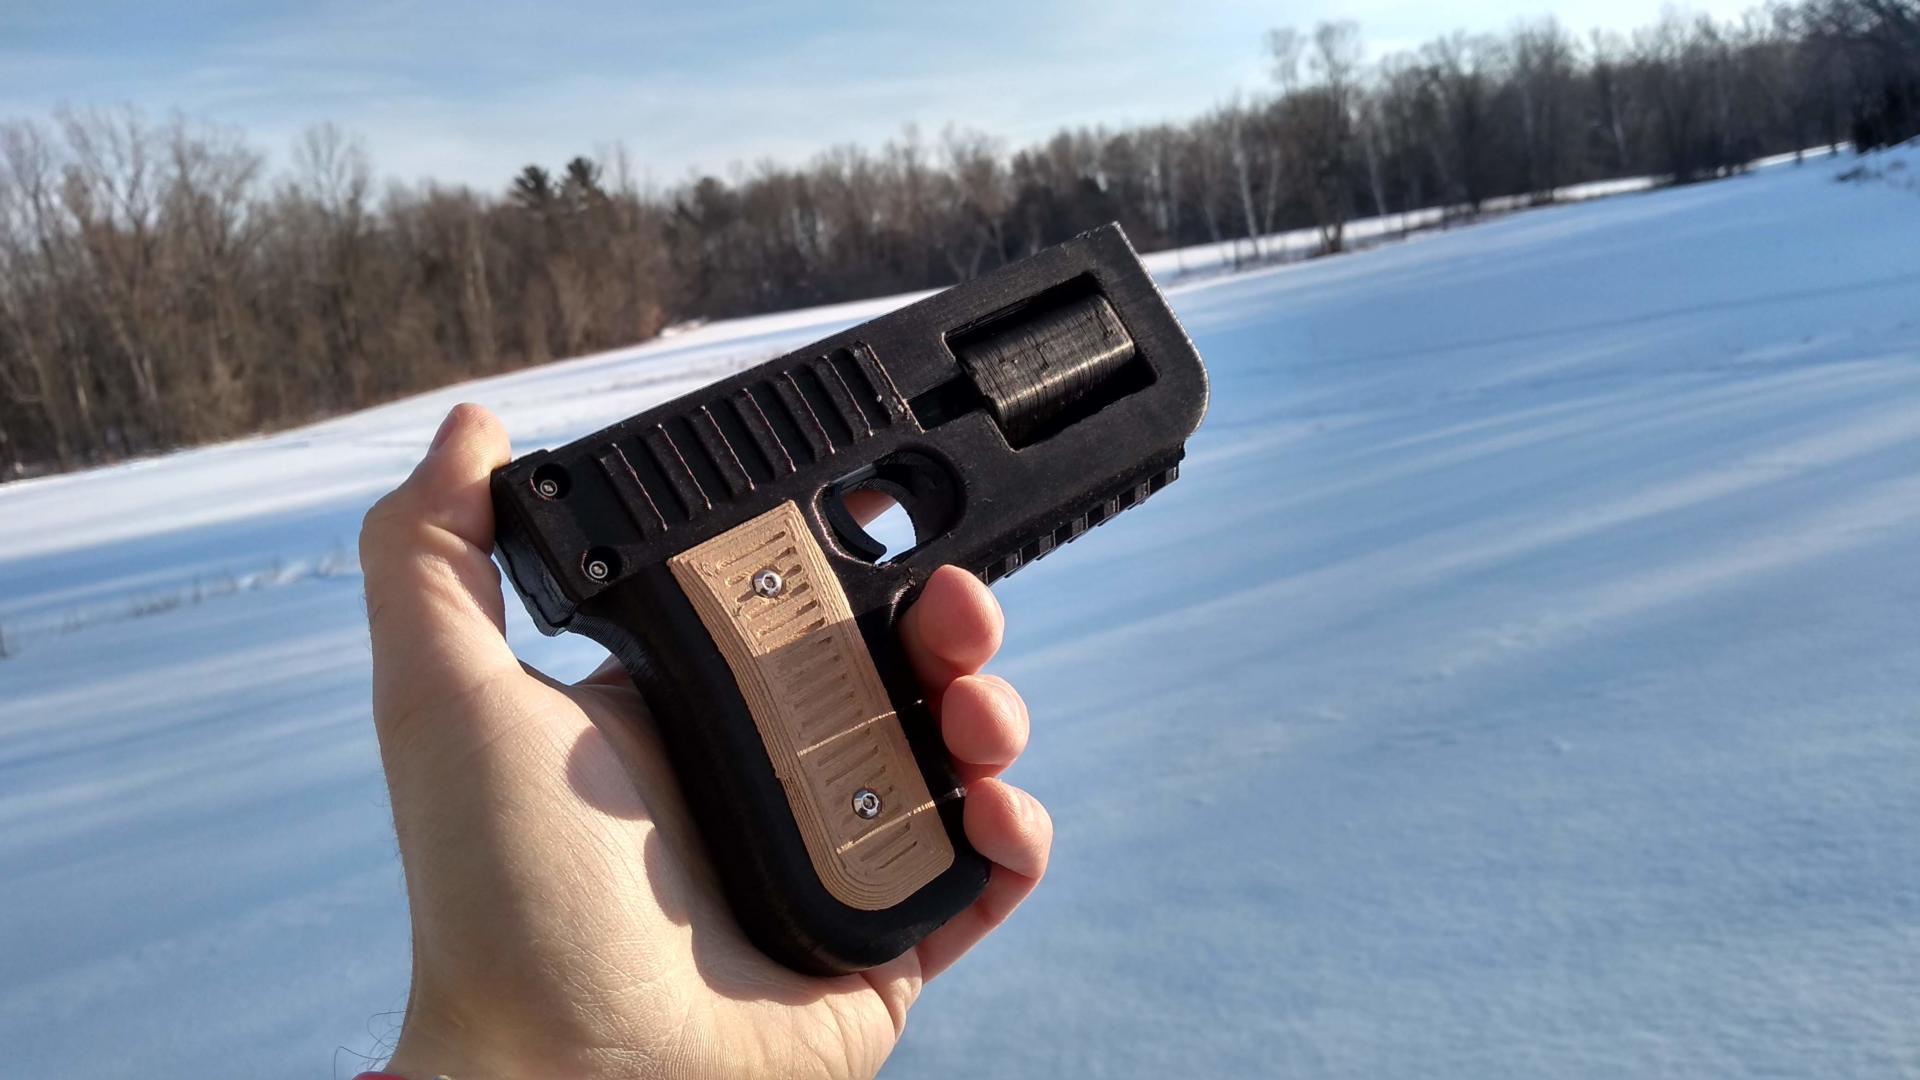
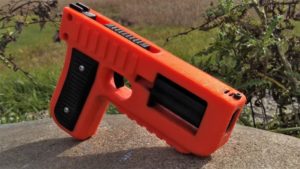
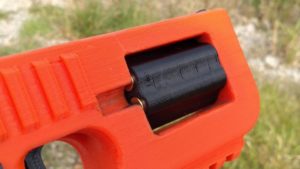
This is the PG22 Maverick. Cool name, right? I thought so too, that's why I stole it from the Nerf Maverick. I figured it was fitting, as they're both bulky looking plastic revolvers. The difference here is the PG22 is an actual firearm, designed and built by me. It fires .22 caliber shorts, which are just slightly more intimidating than foam darts. Its mostly 3D printed, with the exception of a few metal components. Because of this, unlike some other 3D printed designs, the PG22 requires basic tools and fabrication of metal components, namely the 6 barrels. These barrels are made from .22 caliber rifled barrel liner, which is cut to length, and epoxied into the plastic cylinder. Functionally, it's a pepperbox style revolver. Each bullet has its own rifled barrel, and the cylinder is manually indexed. This keeps complexity and part count to an absolute minimum, while being fairly robust.
All parts for the PG22 have been printed in PLA. Yes, you heard that right, PLA. It's not as weak as you think it is. In fact, it outperforms ABS plastic in many areas, including impact strength. The one disadvantage is the lack of heat resistance, but surprisingly, I haven't had any issues with this yet. I don't think it really has the chance to get hot at the limited rate of fire, and having individual barrels helps to spread out the heat. Then again, I’ve only been testing this in the beautiful Wisconsin weather.
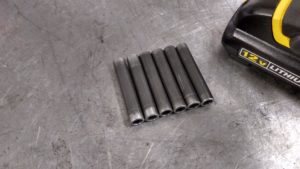
The most difficult, and most important part to fabricate correctly, is the cylinder / barrel assembly. Each barrel consists of a section of rifled steel barrel liner. This is the easiest and cheapest way to get a proper rifled metal barrel. First, I use a pipe cutter to cut 6 equal sections to the approximate length. I then use sandpaper to file each section down to the final length. The final length should be between 43.5mm - 44mm. A bench grinder can make this process a little quicker. Each barrel needs to be exactly the same length for proper operation. If they aren't all the same length, the headspacing may be wrong, or the cylinder indexing may not move freely.
Each length of barrel needs to have a chamber cut. I cut the chamber to a depth of about 13mm, ensuring a .22 short, and ONLY a .22 short, can be chambered. A neat trick I learned is that a #1 wire drill is almost the perfect size to ream a .22 caliber barrel. This is only possible because the .22 case is straight walled and rimmed. Chambers for most other calibers require a lot more precision and complex machining, which is another reason why I went with .22 caliber ammunition.
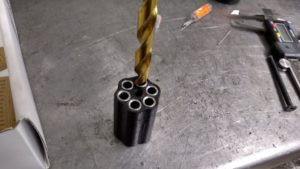
Once we have all 6 barrels cut and reamed, we can install them into the plastic cylinder. The cylinder will have to be drilled out to match the outer diameter of the barrel liner, which can vary slightly depending on the manufacturer. We can then press the lengths of barrel into the cylinder, securing them with a bit of epoxy. I prefer to use JB Weld, and have had great success with it in the past. Just make sure you clean any excess from the barrels before it hardens. I used a C-Clamp here, but you can also use a bench vice if you have one available.
With the cylinder assembly out of the way, we can move on to the last bit of metal we have to cut, the firing pin. I use a 1/16" drill bit, as I can use the drill to finish the striker before cutting it down, and the hardened steel is ideal for use as a firing pin. Use the drill bit to first drill out the striker, then cut the bit down to about 22-23mm. One end is filed to a soft point. You want it to be a fine enough point to reliably set off the primer, but not so sharp that it pierces the brass! Once you're satisfied with the firing pin, you can use glue or epoxy to secure the firing pin into the striker.
From this point forward, assembly should be fairly quick, as we’re left with just a few plastic parts which screw together. The trigger assembly consists of very few parts, with just the trigger, striker, spring, and rear sights. Moving parts may have to be sanded for smooth operation. The striker should slide back and forth freely in the frame, and a bit of plastic safe grease is highly recommended, as this will greatly ease the force required to cock the action, and the trigger pull will feel much smoother.
Once we’re satisfied with the operation of the trigger assembly, we can install the cylinder into the frame. A 5mm drill bit can be used to finish the center hole on the cylinder, to allow it to freely spin on a 65mm M5 bolt. You can also use the bolt itself as a file if you do not have a 5mm bit. A bit of plastic safe grease is also recommended here to ensure smooth rotation. A 1/4" spring and 5/16" ball bearing are used to index the cylinder. The hole for the ball bearing may be tight depending on printer tolerances, so a bit of filing around the edge may be necessary. The ball should be able to press freely in and out of the frame with the force of the spring. Again, a bit of grease may help with operation. With the correct length of spring, the tension should be enough that each position clicks firmly into place without having to fight it to turn. In this example, the free length of the spring was 7.5mm, and the compressed length was 2.5mm.
From this point, we can install the grips and front sights. I printed my grips using a wood PLA, which gives it a nice finish and texture, though this is entirely personal preference. The front sight uses a cap head M3 bolt, which allows for easy elevation adjustment.
Operation of the finished revolver is fairly straight forward. Loading and ejection are accomplished through a small port on the right side, which allows feeding one round at a time when the cylinder is turned between positions. Ideally, empty cases should fall freely from a clean chamber, though sometimes you may have to use a fingernail to assist with stubborn cases. Each shot requires manually turning the cylinder to the next position before firing, along with cocking the striker. To prevent bullets from falling out, the barrel should face downward while being rotated. Be sure to keep the muzzle pointed in a safe direction at all time.
Overall, I’m quite happy with the design and functionality of the Maverick. I’m not an engineer, and this is just a side hobby, so the design is far from perfect. In fact, other 3D printed designs have definitely been done better, but I do like the simplicity and compact nature of mine. However, the PG22 Maverick is not a replacement for a modern gun. It's not very practical, doesn't hold much ammunition, and is not drop safe. In fact, it doesn't even have a safety. While I have never had a catastrophic failure with any of my designs, the possibility is very real. A bad print, or degradation of plastic over time could lead to a failure. Assembly and use should only be done by those with mechanical knowledge, and it needs to be understood that no matter what, building and firing a homemade gun is inherently dangerous. I do not recommend you build your own, and attempting to do so is entirely at your own risk.
I do this as a hobby, and have recently started to share my experiments with others more frequently through videos. If you like to see projects like this, or anything related to computers and electronics, please subscribe to my Youtube Channel !
